Dead Celebrity Cosplay


Here’s why you’ve got to love Fort Collins- last year there was a Dead Celebrity 5K, the week before Halloween, an easy out and back flat run from Old Town, to the Cemetery, and ending at the Rio Grande Restaurant, famous for their margaritas and their…well, just their margs, really.  I ran it (slowly) dressed as Isadora Duncan (too soon?) and had fun, but resolved to recruit other people to run with me this year.

Then we heard the news about Leonard Nimoy, and my husband said he would run it dressed as Spock, if I ran as Arlene Martell.  She played Spock’s fiancee in the Star Trek original series episode where Spock finds out his arranged marriage just isn’t going to work out. So I have been thinking about this costume for 6 months now, and then about a month ago, I realized I hadn’t gotten an email or anything from the race organizers, about registration. I looked it up, and there isn’t a dead celebrity race this year. I am beyond disappointed.  Talk about all dressed up and no place to go.

tpring

Of course I finished the costume anyway. Or almost finished it- it isn’t Halloween yet… I still need to attach a Nehru style collar, and adjust the sleeves. Wait, what’s today? Maybe its fine as it is- also, what am I doing with my hair?

I wanted to be able to run in it, so it is a silver knit tee, with a pleated skirt, which I can wear around my ribs, as in the show, or more comfortably around my waist. I used foldover elastic to make the waist, and since I used a metallic chiffon, which frays like crazy, I made French seams, which encloses the fraying edges inside a row of stitching. In hindsight, I wish I had bought more fabric- I cheaped out by only getting a yard, so the skirt isn’t as full as it could be.IMG_0728

I used the tee pattern from the Alabama Stitch Book, but machine sewed it, rather than the hand sewing method from the book (have you become obsessed with Alabama Chanin yet? It is a wacky subculture of handmade clothing- love the aesthetic). I will figure out a place to wear this- Halloween is on a Saturday this year, so we’ll do something. Maybe it will involve a 5K run.  Maybe it will involve a margarita. Maybe both?

Advertisement

Don’t call it a cello bib- bibs are for babies


Will is signed up for orchestra this  year, and since his piano teacher also teaches cello, we decided to get him time and a half lessons over the summer, because, what else was he going to do with his time? Go outside? Ha! So part of the lesson is piano, and part is cello, as he builds his callouses.
Why did he choose cello? several reasons, including having seen these videos
His teacher showed me a quilted bib, or cape, that goes over the back of the cello, to pad the part that leans into the chest, which probably has a name, but I don’t know what it is. She told me, “eventually he’ll get a callous there on his sternum, but as a beginner, it’s nice to have a pad.” (Ack- my baby with a calloused sternum!)
When I googled it, I learned that it protects the sternum, but it also protects the finish of the cello from shirt buttons. Not that Will wears shirts with buttons very much, but he will for concerts once middle school starts. (Ack, my baby in middle school!)
Google didn’t help very much in terms of directions for how to make one. (what are we calling it? a cape? a bib? a protecto-quilt?) Maybe because it is pretty simple. I had material in my stash for it, but if you are starting from scratch, you would have 2 layers of fabric, with a layer of batting between, about 8-10 inches square.
The layers of fabric with batting in the middle are what is known as a quilt sandwich- you could make 2 of these with a quarter yard of fabric, or look in the remnant bin for some purple velvet- that would look classy. We didn’t go classy, we went cute, with a bright blue and green print on one side and a paler blue solid on the back.
I hand quilted, because I enjoy the process, but it can be done on the machine as well. I just made straight lines across diagonally, then bound it (link to directionsIMG_0720) The original plan was to have enough extra binding to stretch over and make a velcroed loop to attach it to the cello when needed, but you know how they say “measure twice, cut once”? Yeah. Anyway. I had to sew on extra for the loop.
Now that I think about it, I don’t know why you couldn’t just get a hot pad from the dollar store, add a loop to go around the cello and use that as the cape. Bib. Protecto-quilt. Just until your baby develops the sternum callous.

sashiko wrap


In Last Minute Quilted Gifts, there is this simple lovely idea- a quilt with dupioni silk on one side, rough muslin on the other, hand quilted with bright embroidery floss in big, rough stitches. I haven’t been able to get that quilt out of my head, and I have designed a variation- rather than muslin, I wanted the fuzziness of fleece on the inside, and I decided to make it as a wrap, to drape around me watching TV, or fling on the back of the chair to look cool.

I found dark teal silk- it is woven one way with teal and the other direction with dark brown threads- there are natural slubs and rough spots in the silk.  I got a yard, and cut it diagonally, then pieced it together to make a long parallelogram. I chose to fell the seam, since this fabric is really ravelly. Felling is folding the seam down, and stitching close to the original seam line.

I love the contradiction in it- the silk contrasting with the fleece and the  hand stitching.
I got a dahlia flower stencil from Shibori Dragon. They are a great source for sashiko kits and stencils and Asian fabrics and stuff. (we had an exchange student from Spain this summer, and whenever I would say, “and stuff.” she would ask what it meant. Umm…it means et cetera? I guess…and stuff… By the end of her stay, she was saying it. American incoherence FTW!)

I used bronze sharpie to trace the stencil. I couldn’t face using chalk pencil and having it rub away. The sharpie ink will wash out someday, I’m not too worried.  I picked brown fleece and  brown thread to go with the brown warp threads. This quilting is very basic, sashiko style, with a running stitch following the design, which I repeated multiple times on the wrap. The work is slow- I’m not zipping through it fast with a machine, I’m just slowly following a line with a needle and thread. This will take me forever to finish, and that is fine with me.

Sashiko was originally invented in Japan as a way of making utilitarian objects even more utilitarian- mending or patching garments, reinforcing the knees and elbows of work clothes to get a little bit more wear out of them. Karen Kim Matsunaga’s Japanese Country Quilting has great instructions and a bit of the history behind it. But here I am, buying silk, and cutting it up to make a quilt, when there are certainly utilitarian quilts out there in the world already. If I want something to snuggle under while I watch TV, why not use one of the fleece blankets we already own? What do you think, is this just another example of quilting madness, where people buy big pieces of fabric, cut them into little pieces, then sew them into big pieces again? That drives me crazy, so why am I doing it? Any insight is appreciated.IMG_0666

Jello molds- not just for jello


There are tons of copper jell-o molds at the thrift stores I frequent. I never ever make jell-o, and if I did, I wouldn’t do it in a fancy mold shaped like a lobster, or a star, or a crown. I love these molds though. I covet them. The cost around a dollar each- I guess the age of making jello shaped like a fish is over, and people don’t even want them hanging on their walls anymore. Now they can be mine…all mine!!!!

Mostly jello molds, but there's a kitty cat cake pan in there, too.

Mostly jello molds, but there’s a kitty cat cake pan in there, too.

Several years ago, in pre-blog life, I used some as molds for concrete stepping stones. They weren’t super-successful. For example, my favorite shape was a curved fish, but in popping it out of the mold, it broke. I also probably pulled the stones out earlier than I should have- the longer concrete cures, the harder it is, so popping them out early meant they were fragile.
We had a half bucket of concrete mix left, though, so last week while the boy was at STEM summer school, Kate and I got messy.

Sun's out, guns out- look at those muscles!

Sun’s out, guns out- look at those muscles!

I had read on the internet (gardenweb has great information about concrete garden ornaments of all kinds) that adding latex paint as part of the liquid to concrete can extend the working time, and strengthen the finished product. I poured in some of the “Amethyst Frost” paint left from the last time we painted Kate’s room into the mix. It totally doesn’t change the color- the concrete is still grey.

Kate was much more persnickety about greasing her molds with petroleum jelly, so the ones she worked on came out much better than mine. We also got some marble gems at the dollar store, and she was in charge of placement. I would have gone crazy and carpeted the stones with marbles, but she was very reserved.

With the curved fish and a sea horse mold, I attempted to reinforce the concrete with mesh from an onion bag.  The delicate parts broke anyway, so I glued them with 9001 high strength adhesive. Once they are in place, there won’t be a lot of stress on them, so they should be okay.

I waited several days to pop them out of the molds, kept them covered with plastic, and misted them with water every time I remembered to, all on advice from the garden web forum people.

Cat+ craft project, quick, somebody pin me!

Cat+ craft project, quick, somebody pin me!

All in all, I am very pleased with the results- we have some good-looking stepping stone/border edging pieces. You should recognize that you cannot use the molds for food again- the vaseline helps the concrete to release, but there are still bits of gravel stuck to the inside. The molds are about a dollar each at thrift stores (rest assured, Mom, that I didn’t use the copper mold you gave me, with the flower design- it is still hanging on the wall in the kitchen). I have an idea for what I’m going to use the copper molds for now…watch this space.

Martial Arts belt display


White through Green, with room for more.

White through Green, with room for more.

My kids have been doing Tai Kwan Do for about a year and a half, and our policy for dealing with old belts has pretty much been just leaving them on the floor, or whipping them around occasionally for the cat to play with. Maybe not the best plan, but it has worked so far, and has the benefit of being really easy.

Our Dojang has a display on the wall with the belts of our school’s founder, W.T. Alexander, and it is a big board, with the belts tied on. I wanted some middle ground between the pile of belts on the floor, and the enormous wall display, but I had no ideas.
Until I saw a sample display of a lucite tube, with a dark wood base and cap, with the belts rolled into disks and stacked in the order they had been earned. The display was for sale for 50 bucks.
Being the insanely frugal person I am, I thought to myself that I could do that for nothing. And I did try- I have a clear glass cylindrical vase, that has been laying around for years. I usually put lilacs in it. I rolled up Kate’s white belt, it fit perfectly. Excellent. Then I attempted her yellow striped belt, which I couldn’t make fit at all, It is just slightly thicker, so the disk as it is rolled up is just too big. I tried forcing it, and then visualized slicing my hand open and bleeding all over.  A trip to the emergency room isn’t frugal at all, so I changed plans.
Now, glassware happened to be 50% off at Hobby Lobby, so I scouted it out while on a trip for thread.
Since I was only buying thread, I had ridden my bike over- one of my goals this spring and summer is to bike for short errands where I won’t be carrying much stuff. So, of course, I found the vases I was looking for. I considered very carefully. Hmmm…2 glass vases, 6 inches in diameter and 18 inches tall, in my panniers, over the railroad tracks… I decided to come back later.
I went back later and brought them home, rounded up both kids’ belts, rolled them up and inserted them. I’m pretty psyched. Total cost of the two vases was $32, and I still have my big vase for lilacs. Every body wins.

Progress on the Duvet Cover


The previous owners of our house finished the basement in idiosyncratic ways- for example, when they installed the basement shower, the drain holes didn’t line up. That’s bad. They also put in a storage system in the playroom with a sewing closet. Open the doors, and there is a desk with a rectangular cut-out for a sewing machine, and little drawers for scissors and bobbins and ribbons and things. That’s good.
The result is that I can leave projects half finished and come back later, without having to clean off a table to sew.
The bad thing is that it is in the basement, which is cold and dark in the winter. In summer, it is great, because when it gets unbearable upstairs in the afternoons, we can go down and play with legos and sew. In the winter, I don’t get much sewing done.IMG_0038

But, today we have a project. So, today, we’ve cleared off the dining room table, brought the sewing machine up, and the ironing board, and we are making some bedding for Kate.

I mused to myself how I would be able to control my “control-freakiness” with Kate, and let her sew without hovering over her.  It turns out, I am not having to, very much. I helped her wind bobbins, pinned some seams on pillowcases, let her sew…and then she kind of got bored. We had 6 long panels, 84 inches by 22 inches, so we sewed them together, then sewed across the top.  Kate drifted off leaving me to zigzag the six long seams and press a hem  in the opening.IMG_0033

Thanks to my panel of experts, who advised me to leave a longer seam allowance, 1/2 inch rather than 1/4, and to zigzag the edges.  IMG_0044

For the opening where the comforter goes in, I have hemmed it, and am thinking about attaching snaps? I am feeling a little lazy, though, and have made comforter covers in the past without them. What are your thoughts? I have snaps in the basement…

Yeah...okay, probably needs snaps.

Yeah…okay, probably needs snaps.

Good-enough Twin Comforter Cover

9 yards cotton quilting fabric, 3 yards each of 3 coordinating fabrics

Cut 25 inches off each fabric length. Choose one that will be the contrasting trim for both pillowcases and cut in half along its width. Set aside.

Cut the selvedges off the long pieces of fabric, and rip them in half along their length. You will have 6 pieces that are 22 inches wide and 83 inches long.

Working with two strips at a time, pin right sides together and sew together with a 1/2 inch seam allowance, then sew the pairs together to make one big tube. Pin the seam on the top of the cover, and sew it together. I lined up my seams at the edges, although as I type this, I realize I could have lined it up any which way, so the strips wouldn’t have the seams at the same place. Next time…And of course, you could make the strips any width.

Take time to zigzag the seam allowances and press the allowances to the darker fabric.

The open end is where you will feed the comforter in.  I double-folded the hem and stitched it down, leaving the center open.

This is where I should have put in snaps… and I probably will.

For the pillowcases, sew the 12 inch long piece of accent fabric to the 25 inch long piece, along the width of the fabric, 38 inches. Press the seam toward the 12 inch side- it will be covered with the folded accent fabric. Fold and sew along the bottom and side. Press a half inch hem along the top of the accent fabric and topstitch down to cover the seam that attaches the two fabrics to each other.


The perfect is the enemy of the good


IMG_0032This is my motto, or one of them, anyway.  The idea is that if you wait until every thing is perfect, then you will miss out on the good- enough moments. For example, Kate has a new down comforter. Her room is on the east side of the house, so the sun wakes her in the morning, but it means it is pretty cold at night. Especially lately, because she closes her door for privacy. This fall when I saw her layering two comforters and three fleece blankets, in addition to pajamas, I was like, “would you like a down comforter?”
Short answer, “yes.”
So we shopped at all the linens and baths and beyonds and things, (which I hate) and I wound up ordering one on Amazon (which I love). While waiting for it to arrive I started sketching ideas for duvet covers, thinking about embroidery, and patchwork, and scalloped edges.
Now…this was before Christmas, the end of the quarter at my school, while Kate was sick and, even though I didn’t know it, I was about to catch the flu (at least I think it was the flu, I felt terrible, but I hope it makes me immune, because I still haven’t gotten a flu shot.) Seriously, it was a terrible time to start a giant quilty craft project.
So, I didn’t.

But I didn’t want to put the comforter on the bed just naked, it needed a cover.
I didn’t actually buy an official duvet cover- I got a king sized sheet and folded it in half and sewed it together. It was the best thing to have done (well, I acknowledge that maybe just buying a pre-made duvet cover would have been easier, but I have mentioned already I hate shopping.)
Now that Christmas is over, and the new quarter at school has started, and Kate is feeling better, and here’s hoping, that was the flu, not just a random virus and I won’t get sick, we went out and bought some fabric.

The middle one is Kate's favorite- it looks much better IRL- pale green with a swirly resist pattern. My favorite is the top one.

The middle one is Kate’s favorite- it looks much better IRL- pale green with a swirly resist pattern. My favorite is the top one.

We found inspiration in Last Minute Patchwork Gifts, by Joelle Hoverson, where I have found inspiration in the past. It was funny, as we flipped though it, Kate kept finding her quilt, and her brother’s, and one that I started for the guest room but still haven’t finished. It is a great beginner’s quilt book.

We found one that was 2 bold fabrics, in vertical stripes and agreed to adapt it.
We hit the fabric store and Kate found three fabrics she really liked in blues and greens.
We got three yards of each, so we would have enough to make pillow cases as well. (the book has directions for pillow cases with contrasting borders, as well.)

Here’s another opportunity to work on my belief that the perfect is the enemy of the good, because I am going to let Kate sew, as much as she wants to. It will be 6 really long straight seams, and they don’t really have to be that straight, in the grand scheme of things. No school for Martin Luther King Day, so maybe we’ll bring the sewing machine up into the sunshine and work on it.

This almost reads as a solid, but there are little dragonflies up close. Love it.

This almost reads as a solid, but there are little dragonflies up close. Love it.

Watch for photos of progress.

Here’s a question- as I understand it, you don’t finish the seams in a quilt with zig-zag or pinking shears because they will get quilted over, and aren’t likely to fray.  With a duvet cover, should we zigzag? Quilty people? Are you there?

Pretty petal baby hat


I had a precious little ball of pink sparkly yarn that I thought might be enough for  a baby hat…but not quite. I was in a bit of denial- I cast-on and started knitting, thinking that lace would stretch it out and I would get most of it done… yeah. No. Rip out and start over, with a bit more pre-planning.

I’m a little obsessed with the sparkly yarn- I have a pair of socks for myself, a pair of socks for someone who doesn’t read my blog, so I can talk about them all I want. I made a pair of sparkly blue socks for Kate as well. I love this yarn. It’s just so subtly sparkly- it isn’t ugly Christmas sweater sparkly, it just has a thin filament of sparkle spun in. Sigh. It is from Knitpicks, if there happens to be a sparkly yarn-shaped hole in your life. I think the gray would be really classy…

Anyway, I had a golf-ball sized chunk of it left, and a great-niece on the way, and I thought, what better use for this perfect little… shoot, not enough.  I wasn’t in complete denial, as I went along I considered ways of making it work. Maybe making it deliberately little- just a beanie? Nah.  Maybe a rapid flat-topped decrease on top, like a pillbox. Nah. Then I thought about it backwards and inside out- what if we considered the pink lacy part to be a cuff, to folded up over a white background? that way the lace would be more defined, and there would be some adjustability in the ear coverage.

My favorite lace pattern is Old Shale, also called feather and fan. It is easy to memorize, and makes the cast-on edge scalloped and ruffly. I originally got the pattern from The Twisted Sister Sock Workbook (not affiliated with Dee Snyder), but it is a traditional pattern- no one really owns it.

If you are considering learning a different lace pattern for a shawl or something, and want to practice, this could work as a swatch, and you have a hat at the end of (can you tell I hate swatching?)

This pattern is adjustable, either by using bigger needles and thicker yarn (perhaps for a big sister?) or by adding repeats to the old shale pattern- each repeat is 11 stitches, which makes about 1 and 1/4 inches in the circumference of the hat.

Some people test really well on being able to visualize and rotate shapes inside their minds, seeing how puzzle pieces go together, spinning parts around in three dimensions.  At least one of my brothers is gifted at this.  I am not.

I had to concentrate really hard to figure out how the heck I would turn this around so that the pretty side of the lace would show through the holes in the lace of the folded up cuff part, but I wouldn’t have to construct the entire hat backwards…. I am sure the mental exercise was good for me.

Then I was sitting next to the hillbilly goldfish pond, enjoying the sunshine, and had a thought. What if I just turned it inside out, and knit in the other direction? Yeah. That works. There is kind of a hole from going the other way, but since I changed colors there, the hole can get filled in with the woven-in ends.

Gauge is not super important here- baby heads come in a wide range of sizes- this is for a baby due in December/January. I would make it bigger for babies born at different times of the year… with my gauge, using this yarn and these needles the hat is 16 inches around. Your mileage may vary.

Squeeee!

Knitpicks Glimmer sock yarn in carnation

Knitpicks Stroll sock yarn in bare

size 3, 16 inch circular needles

Old shale lace pattern- cast on a multiple of 11, join round, being careful not to twist.

round 1 and 2 knit

round 3 perl

round 4 knit two together 2x ,* yo k 4x, knit 2 together 4x*

Cast on 99 stitches in pink and work old shale pattern as written for 3 repeats. (Making the third row perl makes it so the edge does not roll.) Then continue without perling the 3rd row until the piece measures 3 inches from cast on edge- which will be scalloped. Or, if you have a tiny amount of contrast yarn, go until you run out of yarn, as I did.

Switch to white yarn. Turn the piece inside out, so that the wrong side faces you. You will have to go backwards over what you have knit. There will be a slight gap, but you have to weave in the ends if you change colors, so the gap will be filled.

In the next row, knit two together 3x spaced evenly, 96 stitches so that you decrease to 96. Knit stockinette 4 inches, and begin decreases. Place markers every 12 stitches-* knit to 2 stitches before marker*, and knit two together, 1 row plain*. You will hit a point when your circular needle is too long, either add another circular, or switch to double pointed needles. Repeat these two decrease rows until 8 stitches remain- break yarn and sew end through all remaining stitches, then weave in ends.

Wash in wool wash and block.

Start on a hat in big sister’s favorite color…

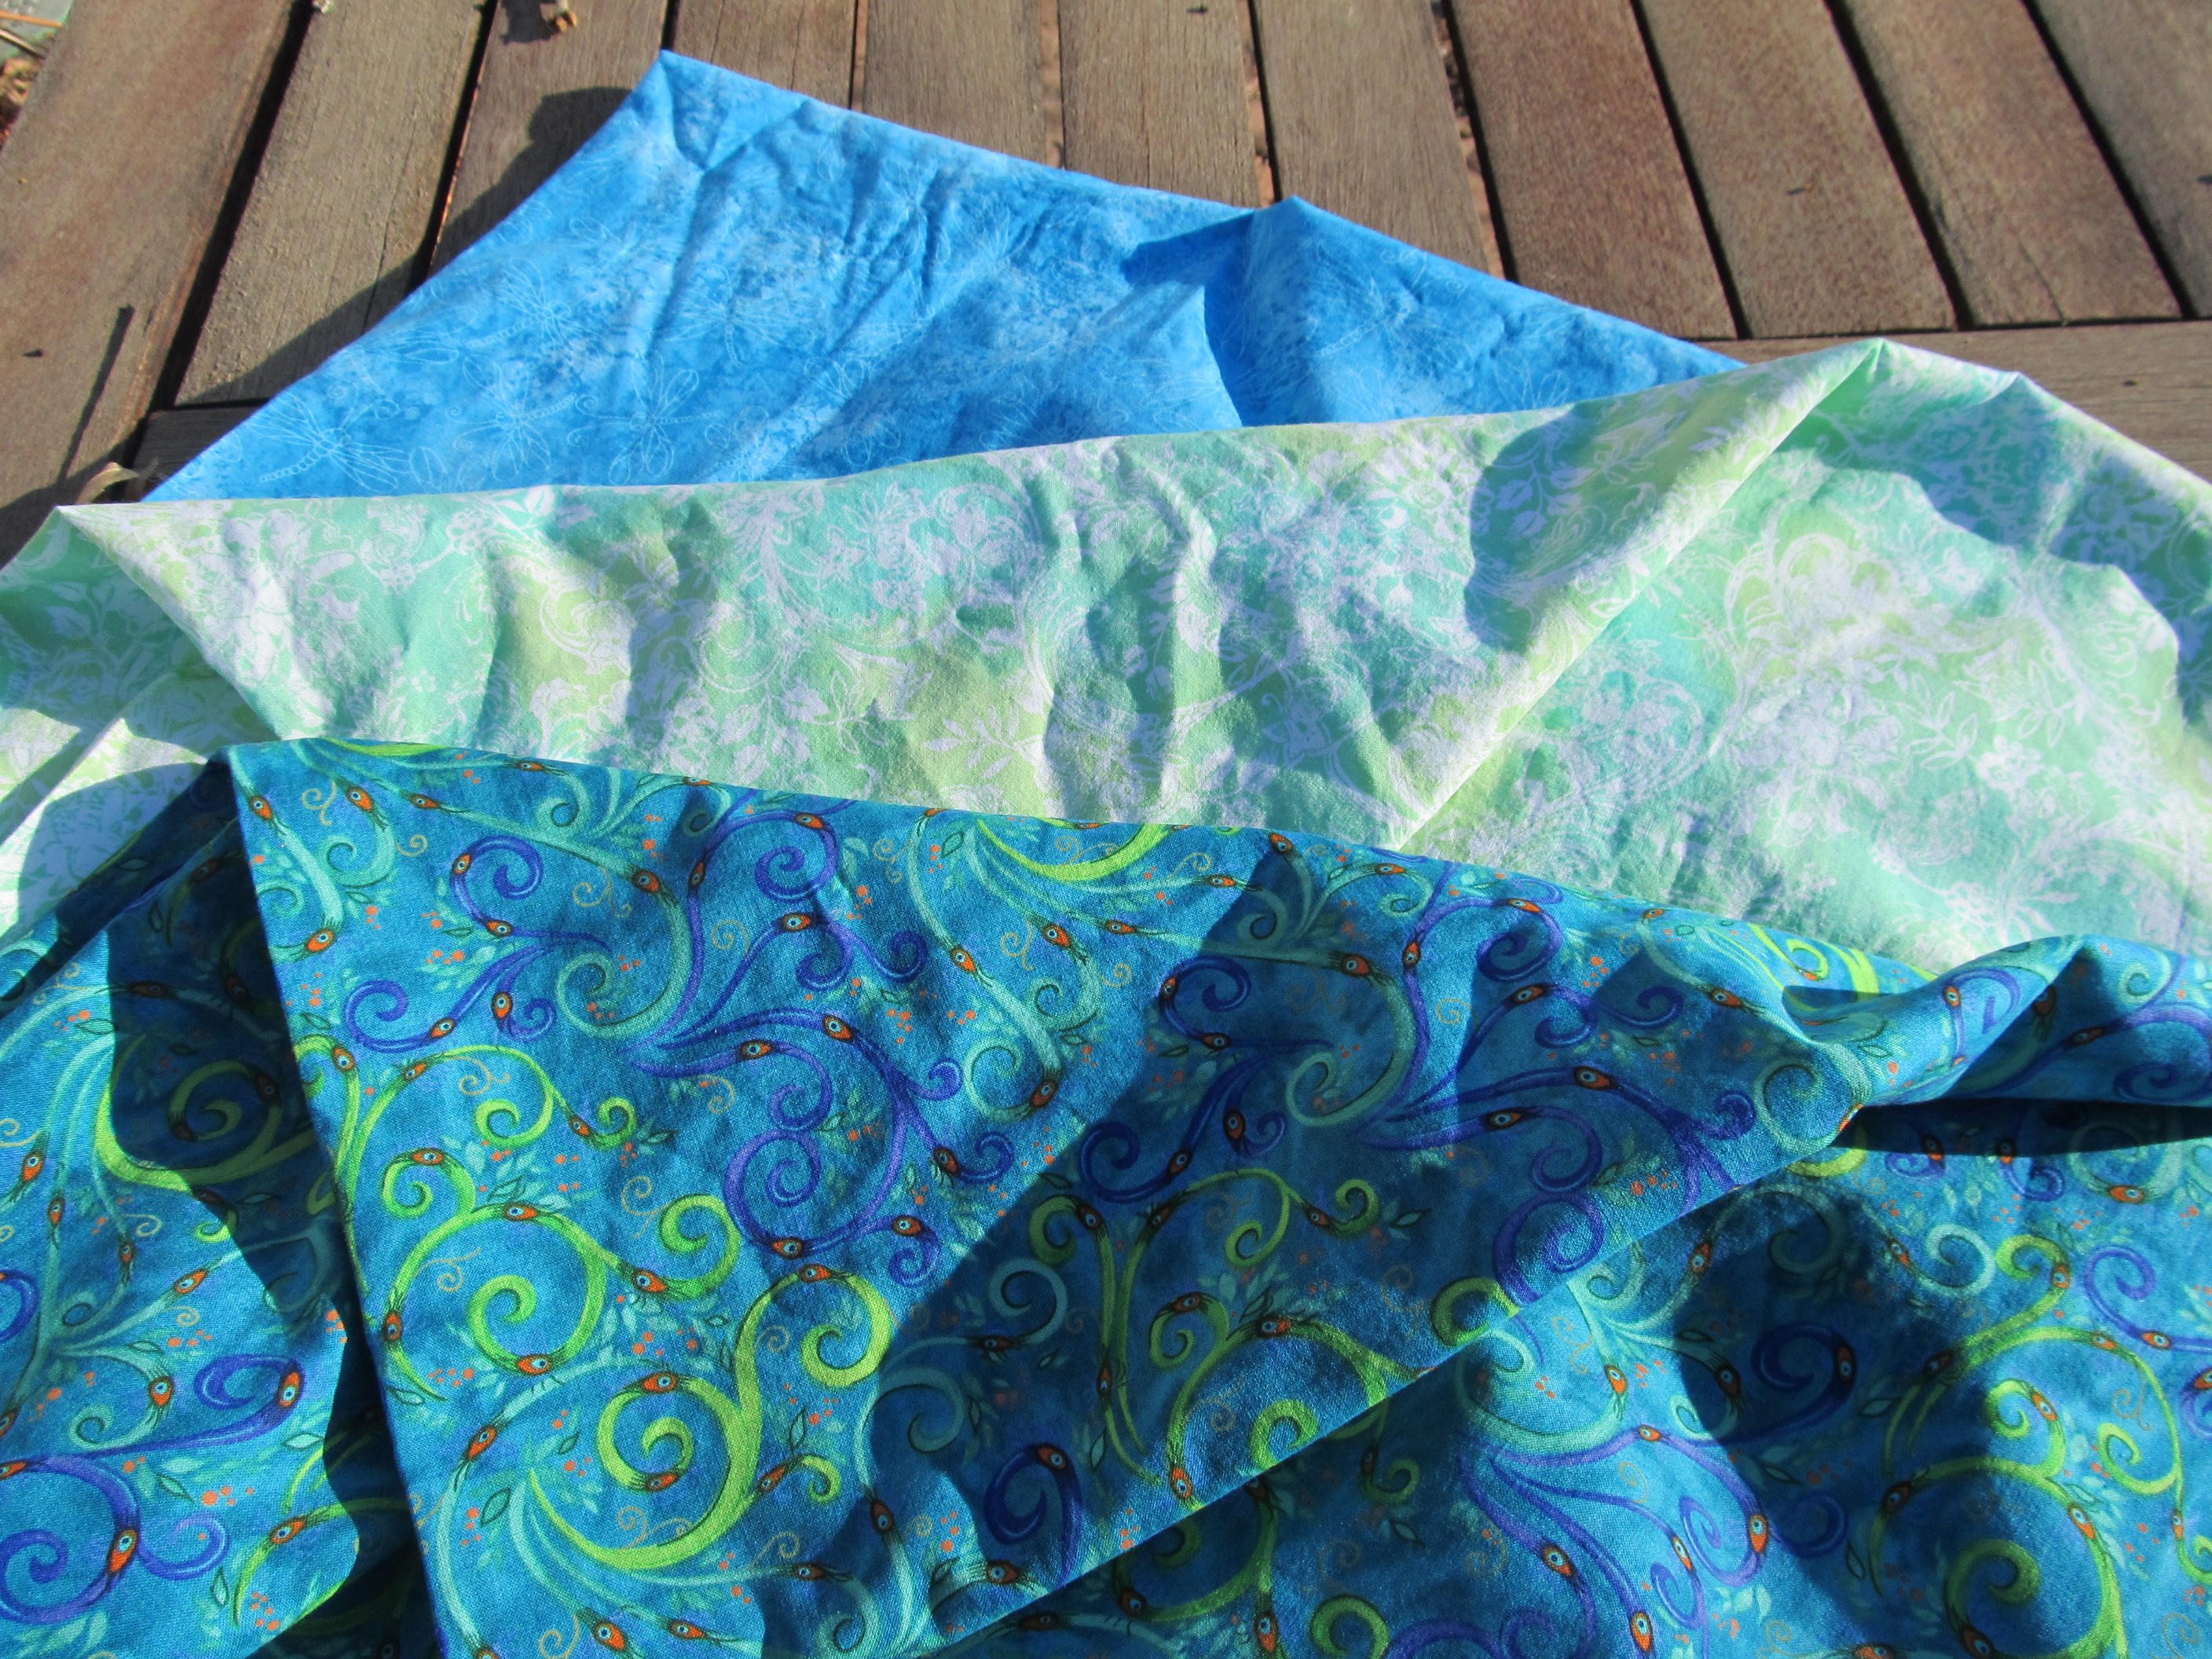
Two shades of green, and a leafy lace pattern…

Funky or Fugly?


See, the pink fading into brown, and then the baby poop green? I just don’t know.

I’m making a baby blanket out of Noro Silk Garden sock yarn. I love this yarn– it is from Japan, and has lovely color gradations- I made a cowl and leg warmers from a colorway with copper and greens and blues. I am working on a scarf in a colorway with deep purples and teals.

This baby blanket makes me wonder…on the one hand, it has bright pink and turquise…fading into brown. Then on the other hand it has purple and indigo and green…and green…and another green…a green that can really only be described as “macrame green.” Or avocado green- some kind of green from the 70’s.

I’ve been working on it a while, and I go back and forth between thinking it’s super cute…and thinking it is ghastly.

There is a kindergartner whose brother takes a Tae Kwan Do class while my kids do, and Erin, the kindergartener, keeps track of my progress. She is very interested in the baby, and the process of the blanket. She has serious doubts about the color combo, though.  She’s polite, and she’ll say she likes the pink, but then she gets a crinkle in her forehead. I get a crinkle in my forehead, too.

The pattern is from Knitting Wrapsody and it has an interesting construction- it starts with a square, which is divided into quarters, then triangles are picked up along each edge, then more triangles are picked up along those edges, then a rectangular border. Because of the way the colors fade into each other, sometimes the stripes on the picked up edges… clash. I don’t know. every time I look at it, I change opinions. So, look at the pictures- funky or fugly?

Alice really likes it- you’d think I made it out of catnip.

I figured out why bike panniers are so expensive


We have a reservoir with a community beach very close to our house- totally within biking distance. (I know, everything’s in biking distance if you have enough time) but this one really is- literally a ten minute bike ride.
We always drive though, because of the baggage factor- towels and lunch and sunscreen and sand buckets. (actually, the kids usually bully other kids into letting them use their buckets. Ugly, but it works)
We are also within a mile of a grocery, a small hardware store, a coffee place and a thrift store. And a farmer’s market.  I shouldn’t be driving to those places either. But again, the baggage problem.
Backpacks are okay, but they make me hot and sweaty, and commercial panniers cost more than I want to spend, so I decided to make some.

What separates panniers from just a regular tote bag is that panniers are bags that have a rigid, or semi-rigid side, that hook onto the rack on back of my bike. The interwebs have lots of tutorials on how to make your own, using army surplus bags or cat litter buckets.  Not exactly the look I’m going for, though.
I got a yard of natural denim, and 1/2 yard of super cute oilcloth. Actually the oilcloth came first, I got it on impulse because it was so super cute, then thought of it for the pannier project. The oil cloth will make the bags splash proof, but not really rainproof. It doesn’t rain here much anyway, and honestly, when it’s raining, I’m in the car. Wimpy, I know.

Look how cute it is!

I spent about $15 on fabric, and another 5 on hardware. The bags will wind up being fraternal twins, rather than identical, because as I made the first one, I figured out an easier way of constructing the second. It also winds up being smaller, though.

I thought of ways to make these with pre-made canvas tote bags- it would probably be cheaper as well as taking less time. I had plenty of time to think about this as I changed the burnt out light bulb on my sewing machine. (is that the difference between really expensive machines and cheapo ones like I have? On a $1300 sewing machine, do you just flip open the side and pop out the light bulb? On mine, I have to unscrew a thing on the back, pull the plastic panel off the front, get my fingers in there and unscrew the light bulb, and there is a plastic flap right at cuticle level that scratches every time the bulb goes around. It’s awful!

This is a very basic bag with a flap, and parachute clips to close it. The key to making the bag work as a pannier is to add another layer of fabric so there is a pocket for a rigid piece of plastic or thin wood to screw the hooks onto. In my case, I sewed the bags from scratch and added the layer of oilcloth as the extra layer, but it probably could be done with tote bags you have sitting around the house.

I found thesereally good instructions for doing the hardware.

Mirror clip, machine screw, split washer, nut and acorn nut.

I used a piece of 1/8th inch thick hard board that I had in the garage from another project (as always) that I cut to 12″ by 12″ and slid into the pocket. Then I attached mirror clips, from the hardware store with machine screws and nuts and stuff. I actually wrote down what I needed, as found on the link above, on a post-it and biked to the hardware store. Then I found a guy in an apron and thrust the post-it at him. “I’m making bike bags” I grunted. He found all the bits and pieces for me.

Bag number 1 fits great- now to finally change that bobbin and finish bag number 2- then it’s off to the farmers’ market.

Previous Older Entries