Dear Asparagus


I don’t know why I can’t quit you.I keep trying to grow you, trying to make a home for you that you can keep coming back to, year after year. And I keep coming back, broken-hearted.
I try to tell myself that you aren’t worth it, my kids don’t like you, you’re difficult, you make my pee smell funny. But inside, I know it’s just a lie- I want you, I miss you. I find myself worried when you aren’t home, I find myself looking in the ditch, knowing that if I found you, I would bring you home and clean you up, cook you, and eat you. Maybe pickle you, if there was enough…

I just love you, and I can’t face paying 3.99 a pound for you at the grocery, and you aren’t even at the farmers market. At least not when I’ve been there. Are you avoiding me? It doesn’t matter- I forgive you. I’ll keep trying to make this relationship work. I’ll dig a trench near reliable water, but also in complete sun, I know how much you love the sunshine, I’ll plant out your little roots, and watch for your little shoots to poke out from the soft compost.  I just love you too much to give up on you.

Signed:

Carrying a Torch


Early tomatoes


We can all agree that home grown tomatoes are what make life worth living, right. (Oh be quiet- you like them in salsa and stuff, though, right? okay, then.) So, we can probably all agree that we want those tomatoes as early as possible, right?
Around here (zone 5, Northern front range of Colorado) the traditional date for safely planting out things that won’t survive frost is Mother’s day- mid May. There is no guarantee it won’t freeze after that date, but that is the average annual last frost date. This year we had a snowy April, and an actual cancel-school- snow day on May first.
That meant that the ground was cold- it was very wet, which is a good thing, but the soil was cold. I made the decision to delay tomato-planting until it warmed up a bit.
Tomatoes need warm air temperature as well as warm soil temperature- it isn’t just a matter of “not freezing” they actually need to be warm. (Interestingly, tomatoes are kind of the Goldilocks of plants, when it gets too hot, over 90, they stop blooming)
I checked the soil temp with my trusty meat thermometer, and it was 43 degrees. I had some walls of water in the garage. For those of you who don’t know, a Wall of Water is a plastic cylinder made of connected tubes which can be filled with water.  It creates a mini greenhouse, and the water absorbs heat during the day and releases it at night. They are supposed to be self supporting. I set them up, (and then reset them up- they kept falling over- I don’t know if the cat kept messing with them or what the deal is, but that is why I don’t ordinarily use them- any one have any tips?)

Look how slouchy that one on the right is- if that falls over on the chocolate cherry plant I am going to be so ticked off.

Look how slouchy that one on the right is- if that falls over on the chocolate cherry plant I am going to be so ticked off.

Anyway, I set them up, then took the soil temperature again. It was 63 degrees after just a couple of days.
Now, variety choices. In the past I have gotten “Early Girl” because the fruits are, you know, early. 60 days to maturity, which means mid July, roughly. One year I was swayed by some garden porn, and bought Radiator Charlie’s Mortgage Lifter, which has a great name, and an heirloom provenence, and is supposed to be heart-meltingly delicious, which didn’t ripen until late September, so I didn’t get to eat any. Mid- September is our average last frost date, so we have about 4 months to get as many tomatoes as we can.
This year I went to the garden center, and mixed in with all the Early Girls was a variety I hadn’t heard of before- 4th of July. I checked the label- 55 days. Which means first harvest on the…let me do the math..umm, 30 days hath September…carry the 1- the 4th of July.

The other variety I picked today was Chocolate Cherry. I have grown this before, and it is so delicious.  It ripens to a dark, deep red, very sweet. It is a bit slower to ripen, but very prolific.

So, I put them in the ground, carefully lifting the waterfilled tubes away from the planting spots, digging in some compost, plugging the tomato plants in deeply, then carefully replacing the waterfilled tubes back over the plants. I acknowledge that it might have been easier to dump out the water and refill, but I just couldn’t see doing it. It seems wasteful.

That was a couple of weeks ago, and the 4th of July has blossoms on it. I haven’t seen any pollinators go inside- which doesn’t mean there aren’t any, but I have been busy. Does anyone have tips about that? The walls of water seem to be kind of a pain in the neck, but I am hoping they are worth it.

Larkspur- you can grow that


Larkspur and yellow yarrow last July.

When I was first building my  garden, my wonderful mother-in-law gave me an envelope of larkspur seeds.  I had the hardest time remembering what they were- I’m not sure why the name didn’t stick with me- those, thingies… bird feet thingies…I would think in my head. I finally have them down, and I have them essentially everywhere. Love them: water efficient, good for pollinators, tall, that pretty blue that flowers don’t usually come in. Pretty cottage garden-y stuff, without needing much water.

They are not perennial, that is, the same plant does not come back year after year, like peonies or rhubarb. Instead, they drop their seeds nearby and plant themselves. I help them along by cutting them back and sprinkling their seeds where I want them.

It is a good thing I am not a super control freak, because often “they drop their seeds nearby” means in the path, or along the edge of the bed, or mixed in with the asparagus.  I have wide beds, with lots of shrubs which were tiny when I first planted them.  Back when my MIL gave me the envelope, the larkspur helped it look like the wide “mixed shrub borders” were something other than wide “expanses of mulch with twigs sticking up.” Now that 8 or 9 years have passed, and the shrubs have grown up, the larkspur can seed itself in the handful of gaps that remain.

To have your own spot of cottage garden-y goodness this summer, don’t wait until someone gives you an envelope of seeds from their yard. Instead, buy a pack, prepare a bed, sprinkle the  seeds and water them in. My self-seeded plants are already up, after having spent the winter on the ground, so it is not too early to plant them.  The first grown will be soft and ferny, and the flowers will grow to be 2-3 feet tall.

You can grow that

Larkspur, yarrow and chamomile blooming way back last summer.

Larkspur, yarrow and chamomile blooming way back last summer.

is an initiative by garden writer C.L. Fornari, to encourage people to get out in the sunshine and grow stuff. You should check it out.

Soil- you can grow that!


Hens and chicks in leaf litter.

Here on the front range of the Rocky Mountains, we have alkaline clay soil that ranges from tan to brown in color. I can jump up and down on the blade of a shovel and not make a dent. I use a thrift store knife to cut weeds off at the root, and I have broken two- snapped the blade clean off in the hard soil.
Except in places where I have mulched.
In shrub beds around the yard where I have been piling leaves and wood chips, I can slice into the soil like it was chocolate cake. Well, maybe brownies.
The best explanation for what happens when we add organic matter to soil that I have read is from Mel Bartholomew’s Square Foot Gardening. Imagine sandy soil is a jar of marbles, water just pours through, moistening the marbles, but not staying in the gaps. Organic matter works like little sponges in between the marbles, holding onto the water and nutrients. Imagine clay soil is like a pile pf playing cards. Water sits on top in a puddle, slowly sinking in. Organic matter works like little sponges in between the cards, creating space for water and air.
So, if you want to build soil, and believe me, you do, here are some ways to do it:
Compost– My favorite compost bin is one that has no bottom, and can be moved around the yard. Every six months or so, I put my bin under another tree, or next to a bush, and when I dump out coffee grounds and orange peels, I enrich the soil in that space. When the bin is full, I move it to a new location, spread out the pile, and have automatic mulch in that zone.
Leaves– I have two big ash trees- they drop copious leaves which I sweep off the patio and rake onto my asparagus, and raspberries, and strawberries, and veggie beds. You may not live in a neighborhood with big trees- some cities have leaf exchange sites where people who don’t want leaves can get rid of them. A few years ago, I participated, and a man brought over a flat bed trailer with a mix of leaves and fresh cut grass. It was heating up as we unloaded the trailer and I spread it around. It made lovely mulch.
Wood chips– I get a pick-up load of wood chips pretty much every year. The goal is mostly to keep weeds down and hold moisture in the soil, but they slowly break down to build soil as well.

A mix of autumn leaves and dead tomato plants, with some sticks on top so it won’t blow away. By spring, it will all boil down to the level of the top of the raised bed.

– I am lazy about “putting the garden to bed” because I know that the stems and leaves of the plants themselves will break down into soil. Weeds with seed heads I usually throw away, although I don’t get all of them. I intentionally leave some seed heads, like for coneflower or sunflowers, for the birds to eat. Tall stems also catch blowing snow and leaves around them so they act as tiny snow fences.

So, whether you have sandy soil or clay, your garden can benefit from adding organic matter to it. This is a great time of year to begin a garden- pile up leaves and let the worms and other critters turn them into soil for next spring.

Rabbit Hole Warning: See CL Fornari’s You Can Grow that site for more ideas of what you can do, no matter where you live.

Radical Apple Pruning


We have a giant apple tree that has been butchered in the past, then ignored, the butchered again, by the city tree trimming crew. It is probably about 50 years old, and most of the apples are developing way up high, because the major branches go up high, then bend over…after researching a lot, hemming and hawing and reading, online and in books, I have decided to renovate it. Slowly, over a few years, I’ll take off major limbs and train young branches to be the new major limbs, at a more convenient height. Convenient for me, not the squirrels.

Let me tell you about apical dominance… there is a chemical in plants that causes the  buds on the end of every branch to be dominant- it turns off the other buds back down the line. This chemical, auxin, is affected by gravity. If the end bud on a branch droops down, there aren’t many buds that will be activated. There will be buds on the tree up high, before the branch starts to droop. So we have very few apples down where we can reach them, and a bunch up high, which then fall down to be half-eaten by squirrels.


Another thing about apical dominance is that when the end bud is cut off,  other bud back down the line are activated. This is good when your pinch back flower chrysanthemums to make the plant bushier, so you get more flowers in fall, but not so good when the city crew whacks back your apple tree on a semiannual basis.

Since it is a standard tree, not a dwarf, it is really big. Branches are growing up into the power lines, and the city crews want to prevent that, but they don’t care much about the tree other than that. Every time the city comes to prune, they take out the center aggressively, which causes it to grow back aggressively. It’s pretty bad. There are seven major limbs, up to about 6 inches in diameter at the trunk, and they have kind of an umbrella effect, going up, then curving way down.
I have thought about it a lot, planning, and checking, and finally decided to take off one of the seven major limbs. Next year, I will take out another, never removing more than 25% of the leaf area at a time. Hopefully this will prevent major regrowth of water sprouts. I wanted to clean up the south side of the tree, since that is where I have recently sited a veggie bed and I wanted it to have more direct sun.

So, I chose my first limb, sawed it, then spent some quality time wondering how to get it down without seriously hurting myself. Seriously. It was tangled in so many other branches that even when it was cut all the way through, it just sat there.  I moved the ladder and made some more judicious cuts, then spent a pleasant afternoon cutting it into reasonable lengths for our chimenea.  Next year, I’ll select another limb from the North side of the tree, and work on that one.

The most helpful book for me in this project, which has mostly been a project about thinking, is Cass Turnbull’s Guide to Pruning. Tons of illustrations, tons of examples, written by a woman on a mission.

Dead Junipers- what next?


The new edge of the bed in the front yard- we’ll be adding some compost and lots of mulch.

Most people who know me would agree, that I don’t seem like the kind of person who would pound stakes into the ground, stretch out string between them, and then follow that string as a guide when making the edge of a  garden bed. I was a s surprised as anyone when I found myself doing just that this afternoon.

Yesterday evening, I was cleaning up the edge of the area where we took out the junipers (link) and I used the garden hose to kind of make a gently curving, voluptuous edge, nipping it in close to the faucet, easing it out near the corner of the house.

Then I thought about mowing that line. I thought about all the other curvy, sensual edges in the yard that have to be mowed, then edged. I decided it would be easier to make a straight edge, and let the plants be curvy.

The bed is about 20 feet long, and the outer line is 8 feet out from the house wall.  (when I said I was going to make the bed about 8 feet deep, DH had a moment where he thought I meant 8 feet from current ground level to top of bed.  No.) I bought 40 brick pavers, because I didn’t want to get out the measuring tape and then do math, so of course I have to pay for my laziness with another trip to the big box store.


So, the plan:

buy more bricks

when there’s grass inside the line, pop it out and transplant it outside the line, when possible

pile on 2-4 inches of shredded wood mulch

when the weather cools, start transplanting the plants I want to move from the backyard

order bulbs

snake soaker hose around the bed

Plant list

Hazel bush (transplanted from nursery bed)

Sedum Autumn Joy (thanks, Sharon!)

Purple coneflower (divided from back yard)

Bearded Iris (divided from back yard)

Yarrow (divided from back yard)

Lamb’s Ear (divided from back yard)

Thyme (divided from back yard)

Comfrey (divided from back yard)

larkspur (seeds)

columbine (seeds)

lily (ordering- probably dark reds and oranges)

tulips (ordering, probably red and yellow triumph)

daffodil (basic yellow)

Most of these plants I already have, so this is a very cheap design for me. I also know they do well here, so I am not taking much risk that everything will keel over and die. The exposure is a little different- the north end of the bed is pretty shaded from the ash tree and the house, and the south end gets morning sun. The coneflower and lilies will go that direction, because they need the light to flower.  My “largish” plant is a hazel nut bush, and I want it to form one corner of a triangle with the ash and the Korean dwarf lilac under my window.

The plan for the tuteur- the exact measurements will depend on the wood I find.

I am also planning some structure- as you can see in the picture, there is a big expanse of plain wall, so I will put in at least one trellis, and some containers,  and am thinking about building some tutuers, which are french teepees- using lumber,rather than round wood or sticks. And, you know my policy, it should be done with the wood that is already piled up, going to the lumberyard is cheating! There are still some 1×2’s sitting behind the garage left over from taking down the playhouse, so I will start with those.

Resilience- you can grow that!


Purple Coneflower and Yarrow, extremely drought tolerant herbs. They’re loving the heat.

It has been hot here. Crazy hot. Typically, in June we get nice moisture, soaking rains, heavy thunderstorms, nice misty days when it’s just cool and gloomy. Not this year. I realize it is hot pretty much everywhere right now.
We went LA on vacation last week, and it was cool and pleasant- too cool for the ocean almost. Then we ended the vacation in Las Vegas, and it was ridiculously hot. You expect that for Las Vegas, but we kept watching the weather for home, here on the front Range of Colorado, and it was ridiculously hot in Colorado, too.
The guy who mows our lawn was checking in on the cat, and a friend popped over to water the container plants and the tomatoes, but otherwise, we didn’t provide for sprinkling. I expected the worst when we got home, but I was pleasantly surprised.

The grass in the front looks awful, of course, but it almost always looks awful. It’s on the list for future projects.

The beds in back, though, look pretty good. They have plenty of mulch, to hold onto what moisture they get. They have plants that are drought tolerant, or native, or both. I designed them that way so they wouldn’t take much water, and would attract bees and birds and butterflies.

The golden currant is dripping with fruit, the lavender is blooming like crazy, the yarrow and coneflower and chamomile are standing tall.  They look better than I do, dripping and drooping, and praying for rain.

Plan for resilience- xeric doesn’t have to mean rocks and cow skulls, it can be dragonflies and birds and fruits and berries. It takes less water and other resources, and it bounces back from hard times. Resilience is a trait we all can use.

This is pretty much the same shot, from the same angle, as I took 3 weeks ago. It’s been watered once with a soaker hose.

Two books that influenced me tremendously are “Herbs in the Garden” by Rob Proctor, and “Gaia’s Garden” by Toby Hemenway.  Both books helped me learn to think beyond “vegetable garden here, lawn everywhere else.”

Fracking junipers*


I asked the tree trimmers who had worked for us before to come do an estimate of pruning the big old tree in back, the big old (slightly younger) tree in front, and ripping out the juniper bushes entirely. As I remember, when they came out last time, they pruned both ashes and the old apple, and removed an upright juniper, and the whole thing cost about $55o.

Umm… this estimate is higher. By a lot
$1600 for the ash in back, $600 for the ash in front. $450 to take out the junipers.
Seriously. $450 for the junipers?
I plan to get another estimate for the big trees, because this seems high. They did come highly recommended, and I was happy with the work they did before, and I am not going to climb up in my 50 year old ash tree and chop things up. But still. Cadillac prices.
I came to a conclusion in the shower, where I do my best thinking, and decided that for 450 I can rip out my own junipers.

Day 1  I started Saturday, tentatively at first, sitting in front with loppers, looking for the trunk, hoping I could just get in there and saw it down. Then I stood up and went around behind the northern-most bush, and saw that where the kids had tried to chop out a playhouse, it was pretty easy to access bigger branches. Lop lop lop, throw into a pile. After a while, I broke out the pruning saw, to get the branches that were too big to get with the lopper.
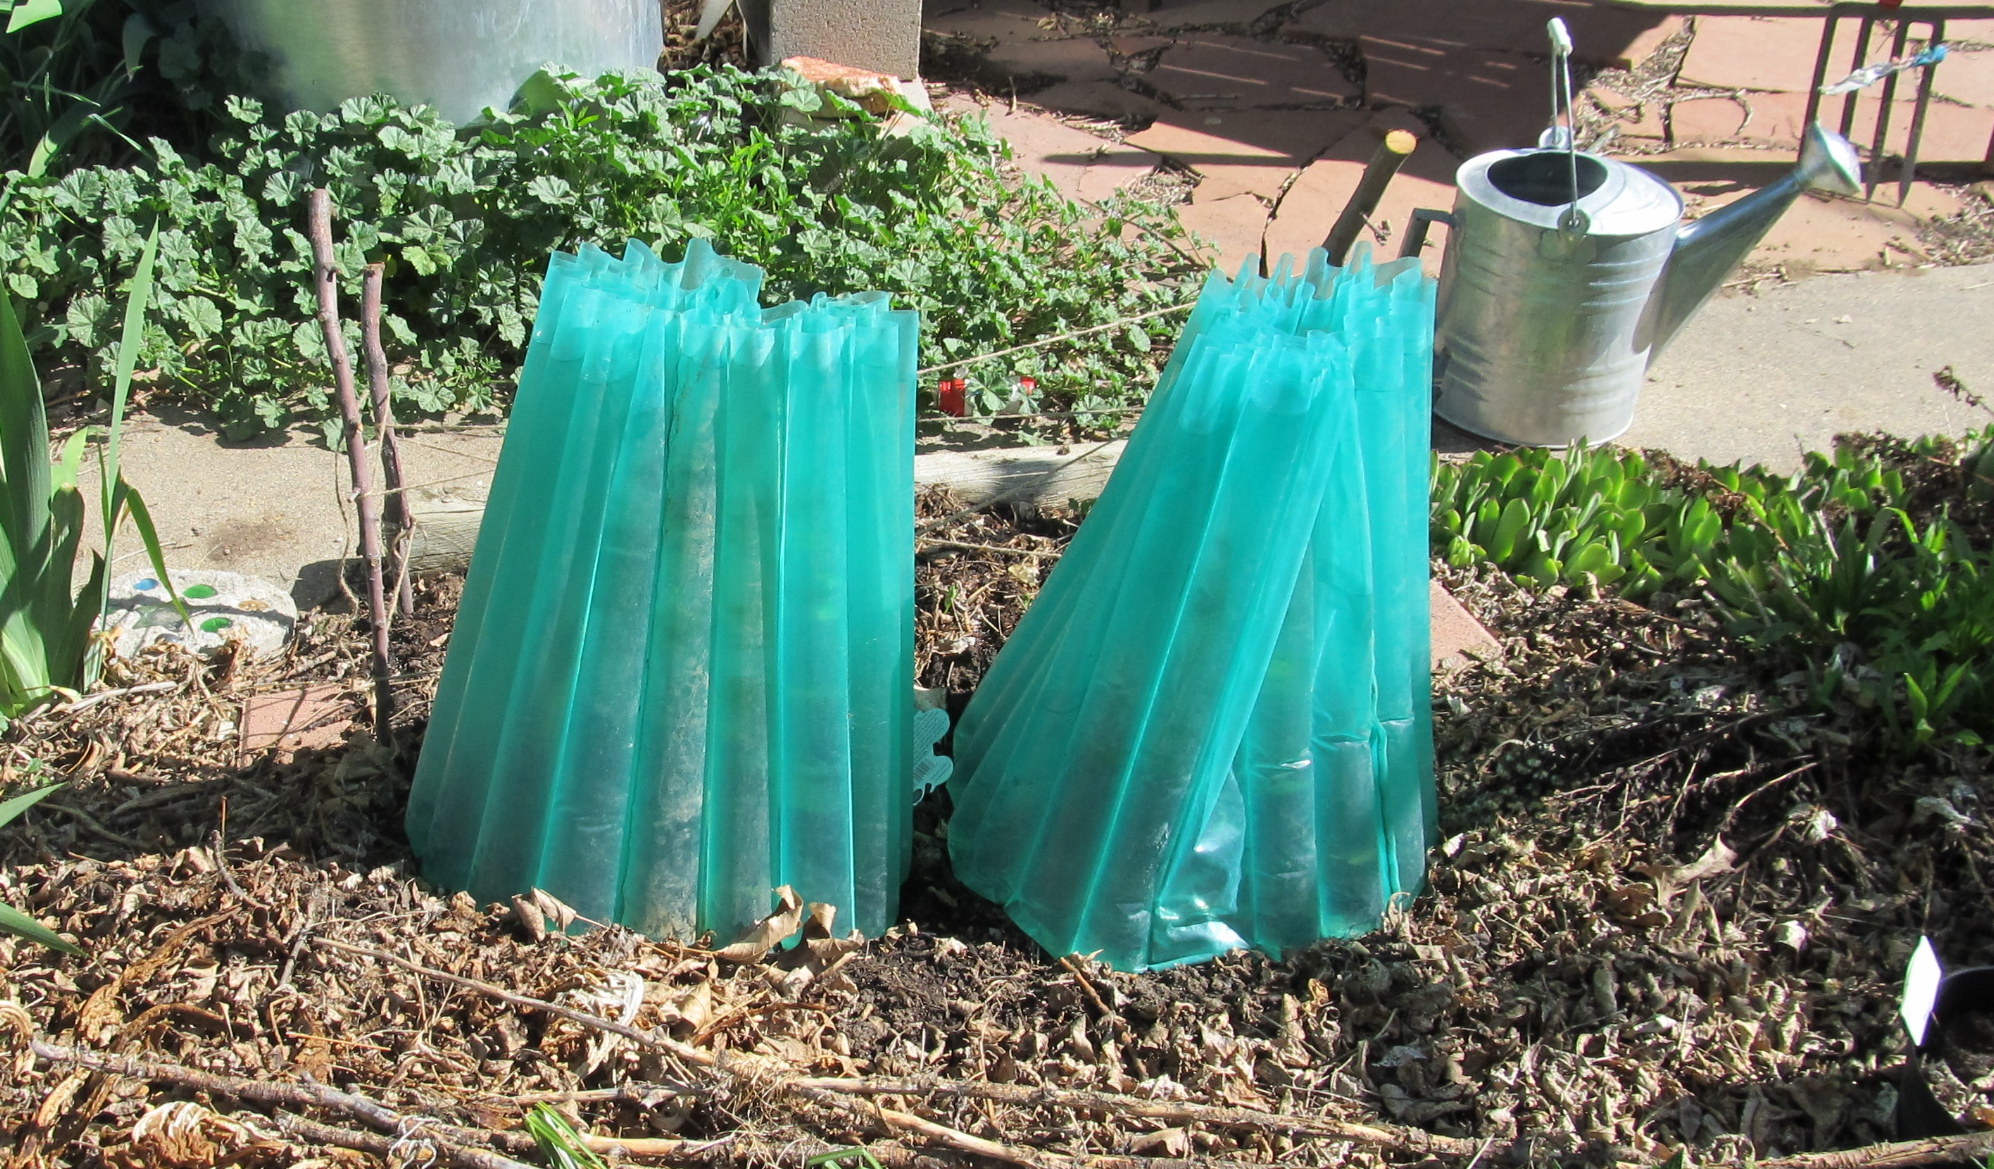
I discovered 3 wasp nests, unoccupied, and a bird nest, also unoccupied.

Little bird nest.

On the first afternoon, I got most of two shrubs cut up, waiting for the main trunk to be cut as close to the ground as possible. The temperature was about 75 degrees, not too bad for working outside, but my arms got scratched up, and I got dust and stuff in my eyes, even with safety glasses, and there were little pieces of prickly stuff everywhere. I kept thinking, “$450… $450”

DH suggested buying a chain saw when I was halfway into it. I may have growled at him.

.

Day 2 had record breaking temperatures. High temperatures, in case you are wondering. I loaded the pick-up, then discovered the waste yard was closed on Mondays. D’oh. Then I crawled into the house, and waited for it to cool off, investing the time in looking at wholesale bulb catalogs and drawing plans for the new bed. I also took a nap.

Day 3, the weather was cooler, but not by much. I drove the pick-up to the city waste yard, dumped the trimmings, then reloaded twice. The third time I stopped for iced coffee and a brownie, then stocked up on epsom salts.

Day 4: We sawed up the last of the shrubs, loaded up the truck, this time with help from DH, who didn’t have to go into work until late.

We also rented a small electric chainsaw. The stumps are just too big for the pruning saw. It cost about $40, and made the stumps go much more quickly.

Thank you Kate, for taking pictures…maybe we’ll have a conversation sometime about flattering angles.

I’m glad we rented, because safety equipment came with it. If we had bought a saw, I know we would have half-assed the safety part. Sure, I would have worn safety goggles, but the kit from the rental place had chaps, and goggles, and a hard hat with hearing protection.

I’m coming after you, stumpy!

At the end of day 4, the only thing left is clean up- the remaining stumps and branches, and sweeping.  The next time I get mulch, a thick layer will go onto this area, and when the weather cools in fall, I’ll transplant things into it.

My thought throughout this project was “We’re saving $450” every time I cussed, and complained, and found little tiny prickly juniper needles in my bra (in my bra!) I would think about the money I was saving. What is a project you could have hired out, but didn’t, or you did it yourself, but would never do it again? What would you do with $450?

*my original working title for this post was a different F word, which expressed how I was feeling toward the bushes. The boy saw it when I was working on it, and attempted to cover my eyes, to protect me. He thought someone bad on the internet had written that word, and he wanted to protect me, bless his heart.

A little birdhouse for your soul


Last year, I wrote about my half-assed attempt to mount birdhouses in my garden, on posts from the thrift store, with rebar and duct tape.
Today, I have a more fully-assed attempt, where I actually used wood and a drill, and screws to build a kind of trellis structure. No duct tape at all.

I have drilled 1/2 inch holes in the bottoms of the posts, and driven 1 foot rebar stakes into the ground, at the right distance apart from the holes. Trust me, I measured! I stepped on some plants in the meantime, but I did measure.

I laid out the pieces on the ground before screwing them together- here you can see where the hole is drilled for the rebar. Having a 2×4 on both sides of the base makes the whole structure sturdier.

I had some wood left from taking apart the playhouse (no worries- there will be a new and better shed playhouse in the future) so I used it to brace the posts. Screwing it onto both sides makes the structure stable by triangulating it. I let the length of the wood determine the size of the structure- the posts are roughly 42 inches tall, the leftover wood was roughly 50 inches long, I used three of the posts for the structure. The fourth might become  a bottle tree. Too tacky?
I painted the top cross bar and the posts bright blue, but not the base- the weathered gray wood will become kind of invisible against the ground.

I used “Surebonder Clear 9001” glue to attach the birdhouses, which we painted 5 years ago? A really long time ago, and they have been sitting around. I realize the glue won’t be permanent, but I am not too worried about it.

Larkspur, yarrow and chamomile blooming, silver buffalo berry bush and lilac in background.

I decided this space needed a structure because it is so green- shrubs, self seeded annuals, weeds, perennials. I like having a frame to make it more formal, but not in a “pinkie-up while you drink your tea” kind of way. Formal like having a frame around a picture- any structure works for this, a flowerpot, a trellis, a headboard.

There has been a forest fire to the northwest of here- we are not at any risk, other than from the smoke. The smoke has made it really unpleasant to get out and garden. It is better today, so I hope to get some stuff done.

Bloom Day- Patience


Three years ago (or was it four?), my wonderful Mother-in-law gave me an envelope of seeds from her yellow columbine, which was spilling over the sides of the flowerbed (the flowers, not the envelope). I scratched them into the soil next to my brass headboard, near the dark red lilies, and stella d’oro daylilies…and this week for bloom day….they are about to bloom. Still waiting.

The waiting is the hardest part.

Oh sure, they have pretty ruffly leaves, and a bright green color, but none of us got into this for the foliage! Give us flowers!

Also about to bloom, roses and peonies.

Planted before we moved in- unknown variety.

As big as a dinner plate when it opens…did I say dinner plate? I meant coffee cup. Which is still pretty darn big. For a flower.

Actually in bloom, we have Honeysuckle Blanche Sandman, well-loved by pollinators and in continual bloom from May through August.

Bearded iris is still blooming.

Clover is  in the paths and lawn. Clover fixes nitrogen, and the flowers attract bees and butterflies, so I have it even though it doesn’t make my heart pound.

And, of course, we have strawberries. Blossoms now mean fruit in June- all mine! Mine, I tell you!

In June, I’ll eat strawberries…

Previous Older Entries