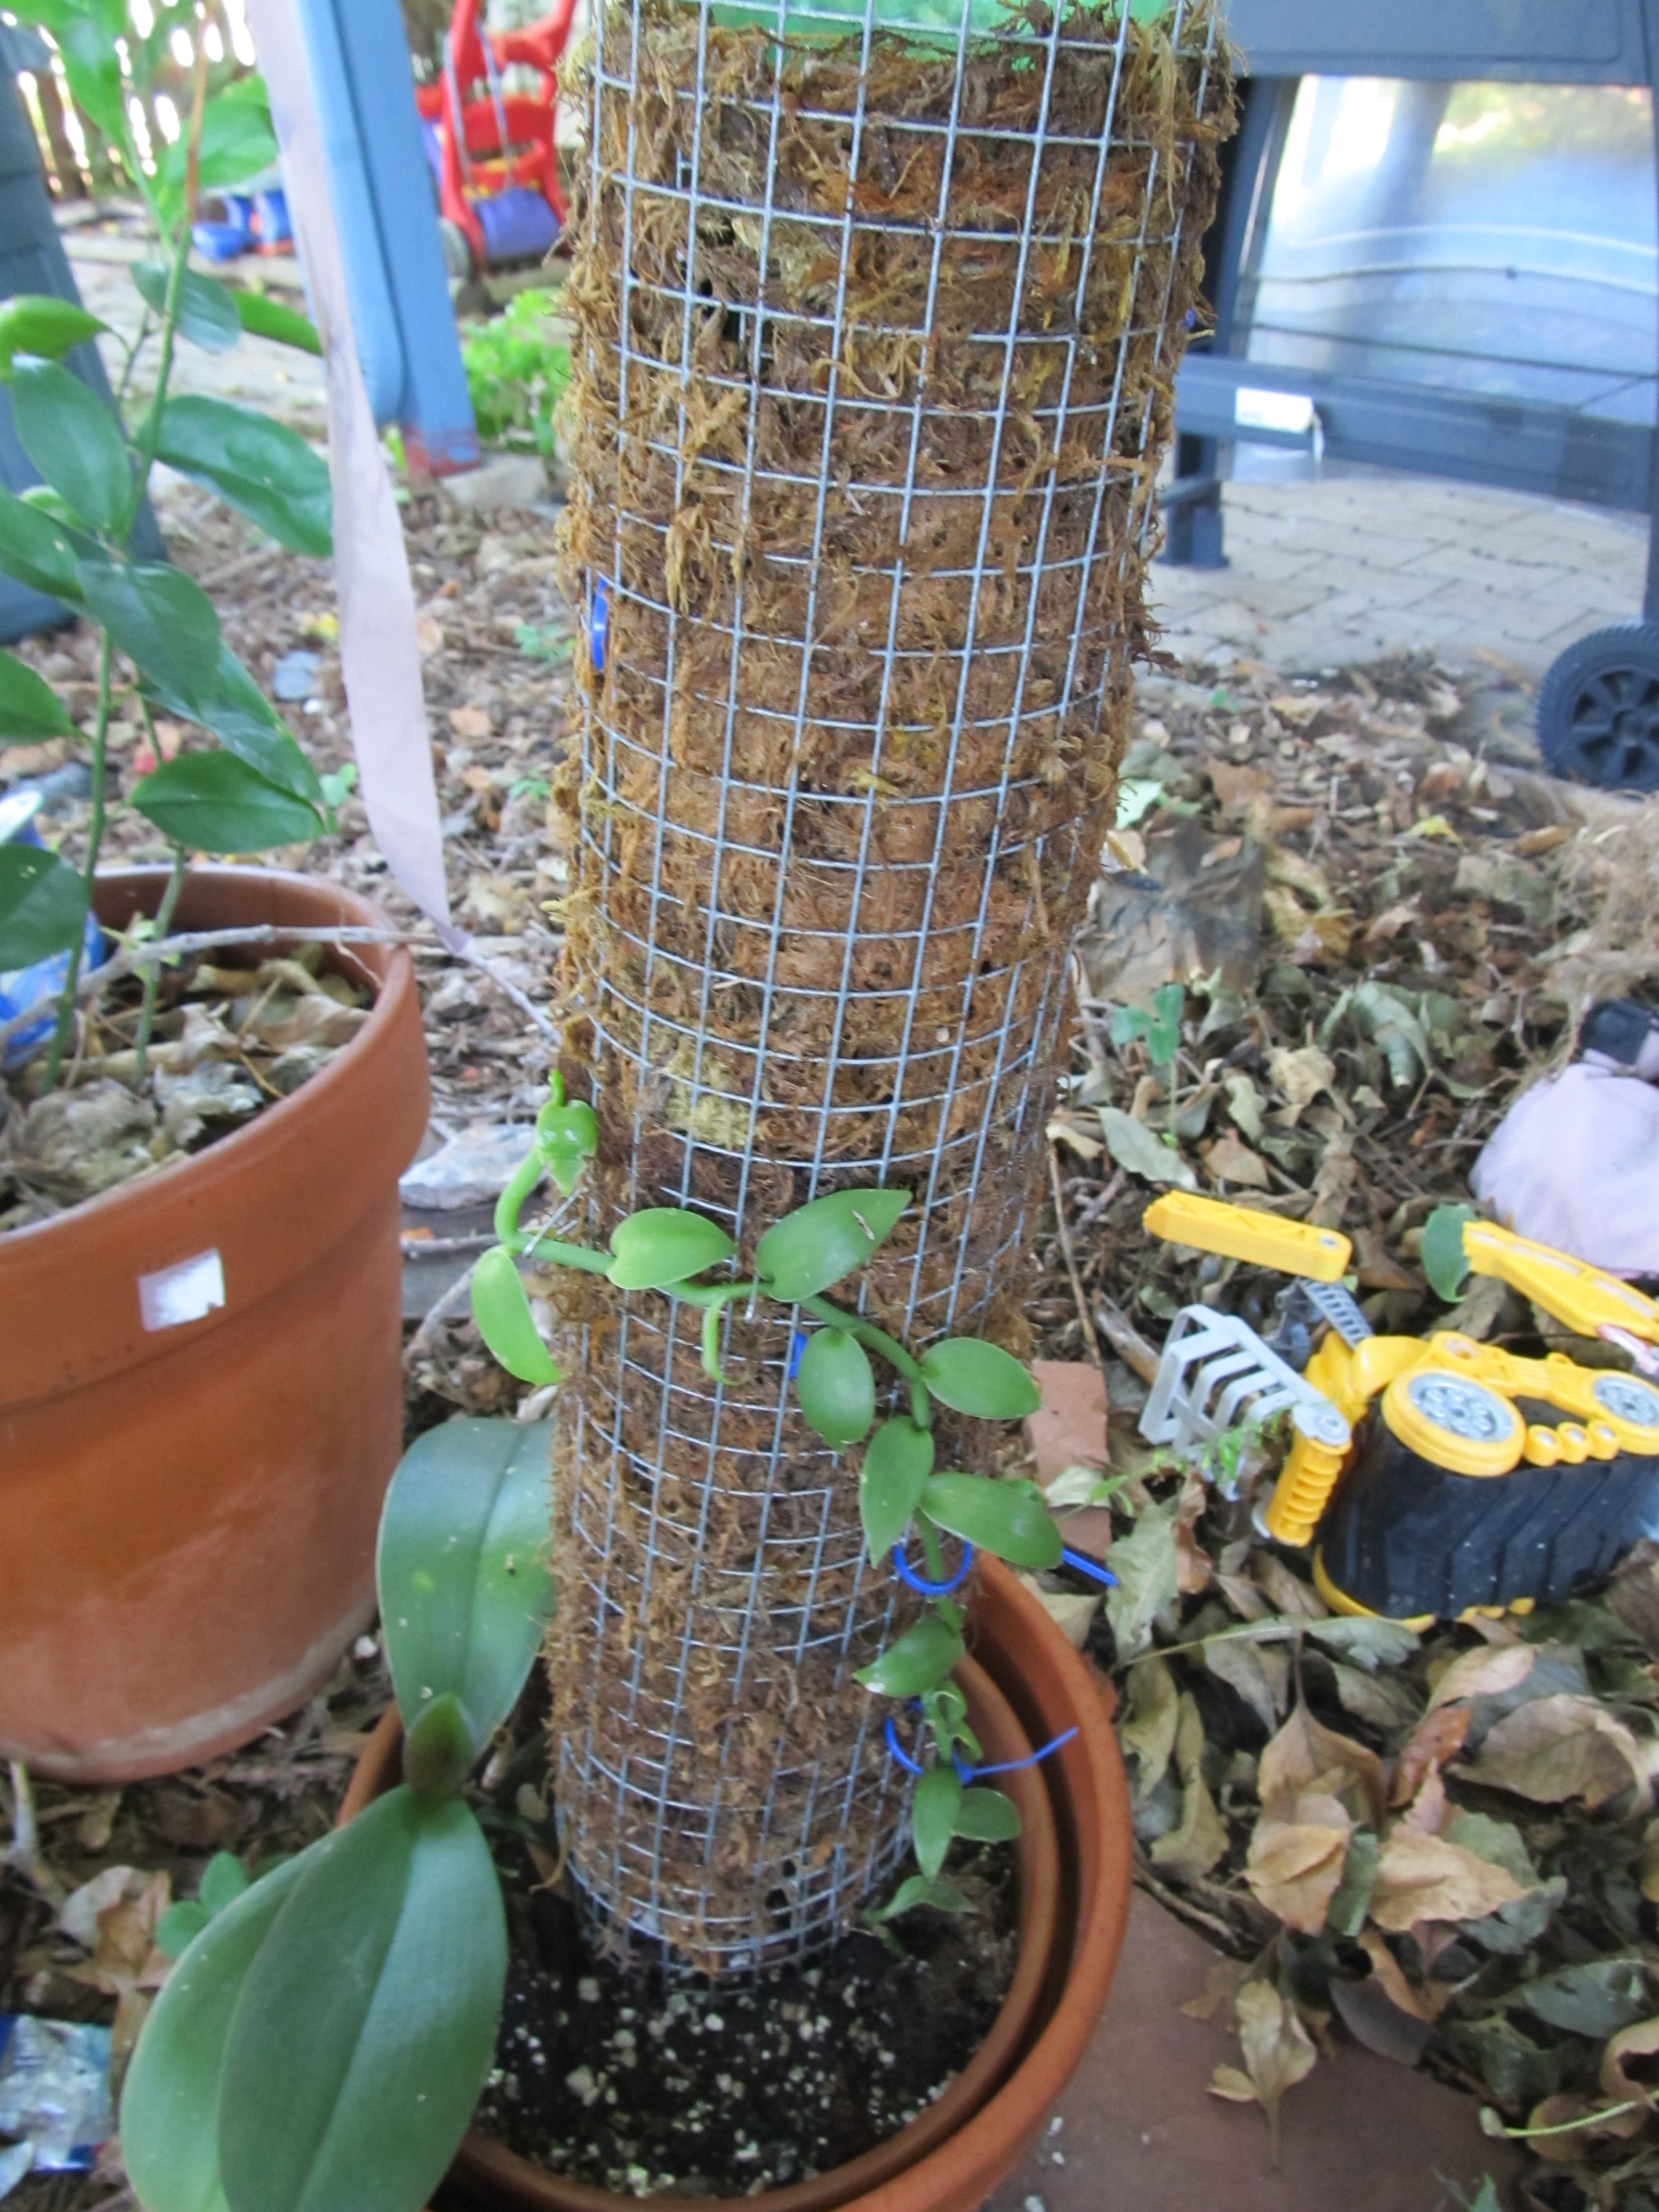
The vine is halfway up the two-foot tall trellis- I keep bending it to the side so it will wrap around the trellis, but vines want to grow upward.
I bought thread at the craft store the other day, and the checker herself was shocked at how much it cost. She said something about it being cheaper to just buy a shirt than to make one. Never mind that I wasn’t making a shirt- you would think working at a craft store would accustom you to the idea that people do crazy things for hobbies.
A great example of this is my vanilla orchid.
I have had it for several years, it is slowly creeping along the trellis I built for it, causing me to panic when it tipped over in the wind and most of the chunky orchid mix spilled out of the pot. I water it with buckets dipped out of the goldfish pond- weak organic fertilizer. The trellis is supposed to act as a humidifier, as well as a support. I baby it.
I moved it inside before it got cold. Vanilla is native to Mexico, warmer and moister by far than my back yard. It could never survive the winter here. The boy’s room has a south window, so all my tropical plants make his room into the jungle room in the winter.
The vanilla isn’t likely to bloom until it gets to ceiling height, and it is about 1 foot tall now. No matter how big it gets, it won’t survive the winter outside. Once it blooms, I will have to pollinate the blossoms by hand, with a small paintbrush, then wait for the seedpods to develop, then ferment and dry them. Then make cupcakes.
Maybe someday, we’ll get a greenhouse. Just think how expensive that would make the vanilla pods- amortizing the cost of glass and construction into each little pod…
But for now, I have a happy little vine in a very portable pot, which goes outside in summer, and inside in the winter, and gives me something to look forward to.