Resilience- you can grow that


kate hailstorm

“Hurry up, mom, it’s really cold!”

We had a hailstorm last night- after a lovely, breezy day with lots of garden puttering, I was sitting on my patio, listening to the neighbor kids scream on their trampoline. I heard thunder to the south and decided to move in. By the time I gathered up my iced tea and got the screen door shut, the rain had started, and then came the hail.
Kate decided it would be cool to go out onto the porch, then regretted it almost instantly- it was being blown under the roof. She struggled with the screen slider, and got hit in the shoulder. The stones were dime to quarter-sized, and they shredded the garden. Giant splashes came up from the pond, the iris and the peonies flopped over, ash leaves made pesto on the driveway. Looking at it through the window, I wanted to cry. I wanted brownies. I hate hail.
It poured rain for a good long time after, and we got probably another 1/2 inch, on top of the five inches we got during a very wet May. We usually get about 16 inches of moisture around here per year, so 5 inches in a month is crazy- the soil is saturated and there has been flooding downstream from us.
Now it’s the day after, and I hear a chainsaw going around the block. I take a tour of the yard with a cup of coffee.
Not actually that bad. Here’s where I get to my point about resilience.

Direct hit!

Direct hit!

The water lily leaves have holes in them, but none of the fish are belly up in the pond, the iris are still flopped over, but they were pretty much finished blooming anyway. The few peonies that had opened are shattered, but the rest that are still in bud look fine.The new baby peach tree seems fine, with just a few torn leaves. The giant ash trees took most of the brunt of the storm, most of what was in their shelter is okay, and no large branches fell down. Tomatoes were in walls of water, which protected them from damage. The traditional, “grandma’s garden” types of plants show damage, but they should bounce back.

Supposed to keep the tomatoes warm at night, also protects against balls of ice falling from the sky, apparently.

Supposed to keep the tomatoes warm at night, also protects against balls of ice falling from the sky, apparently.

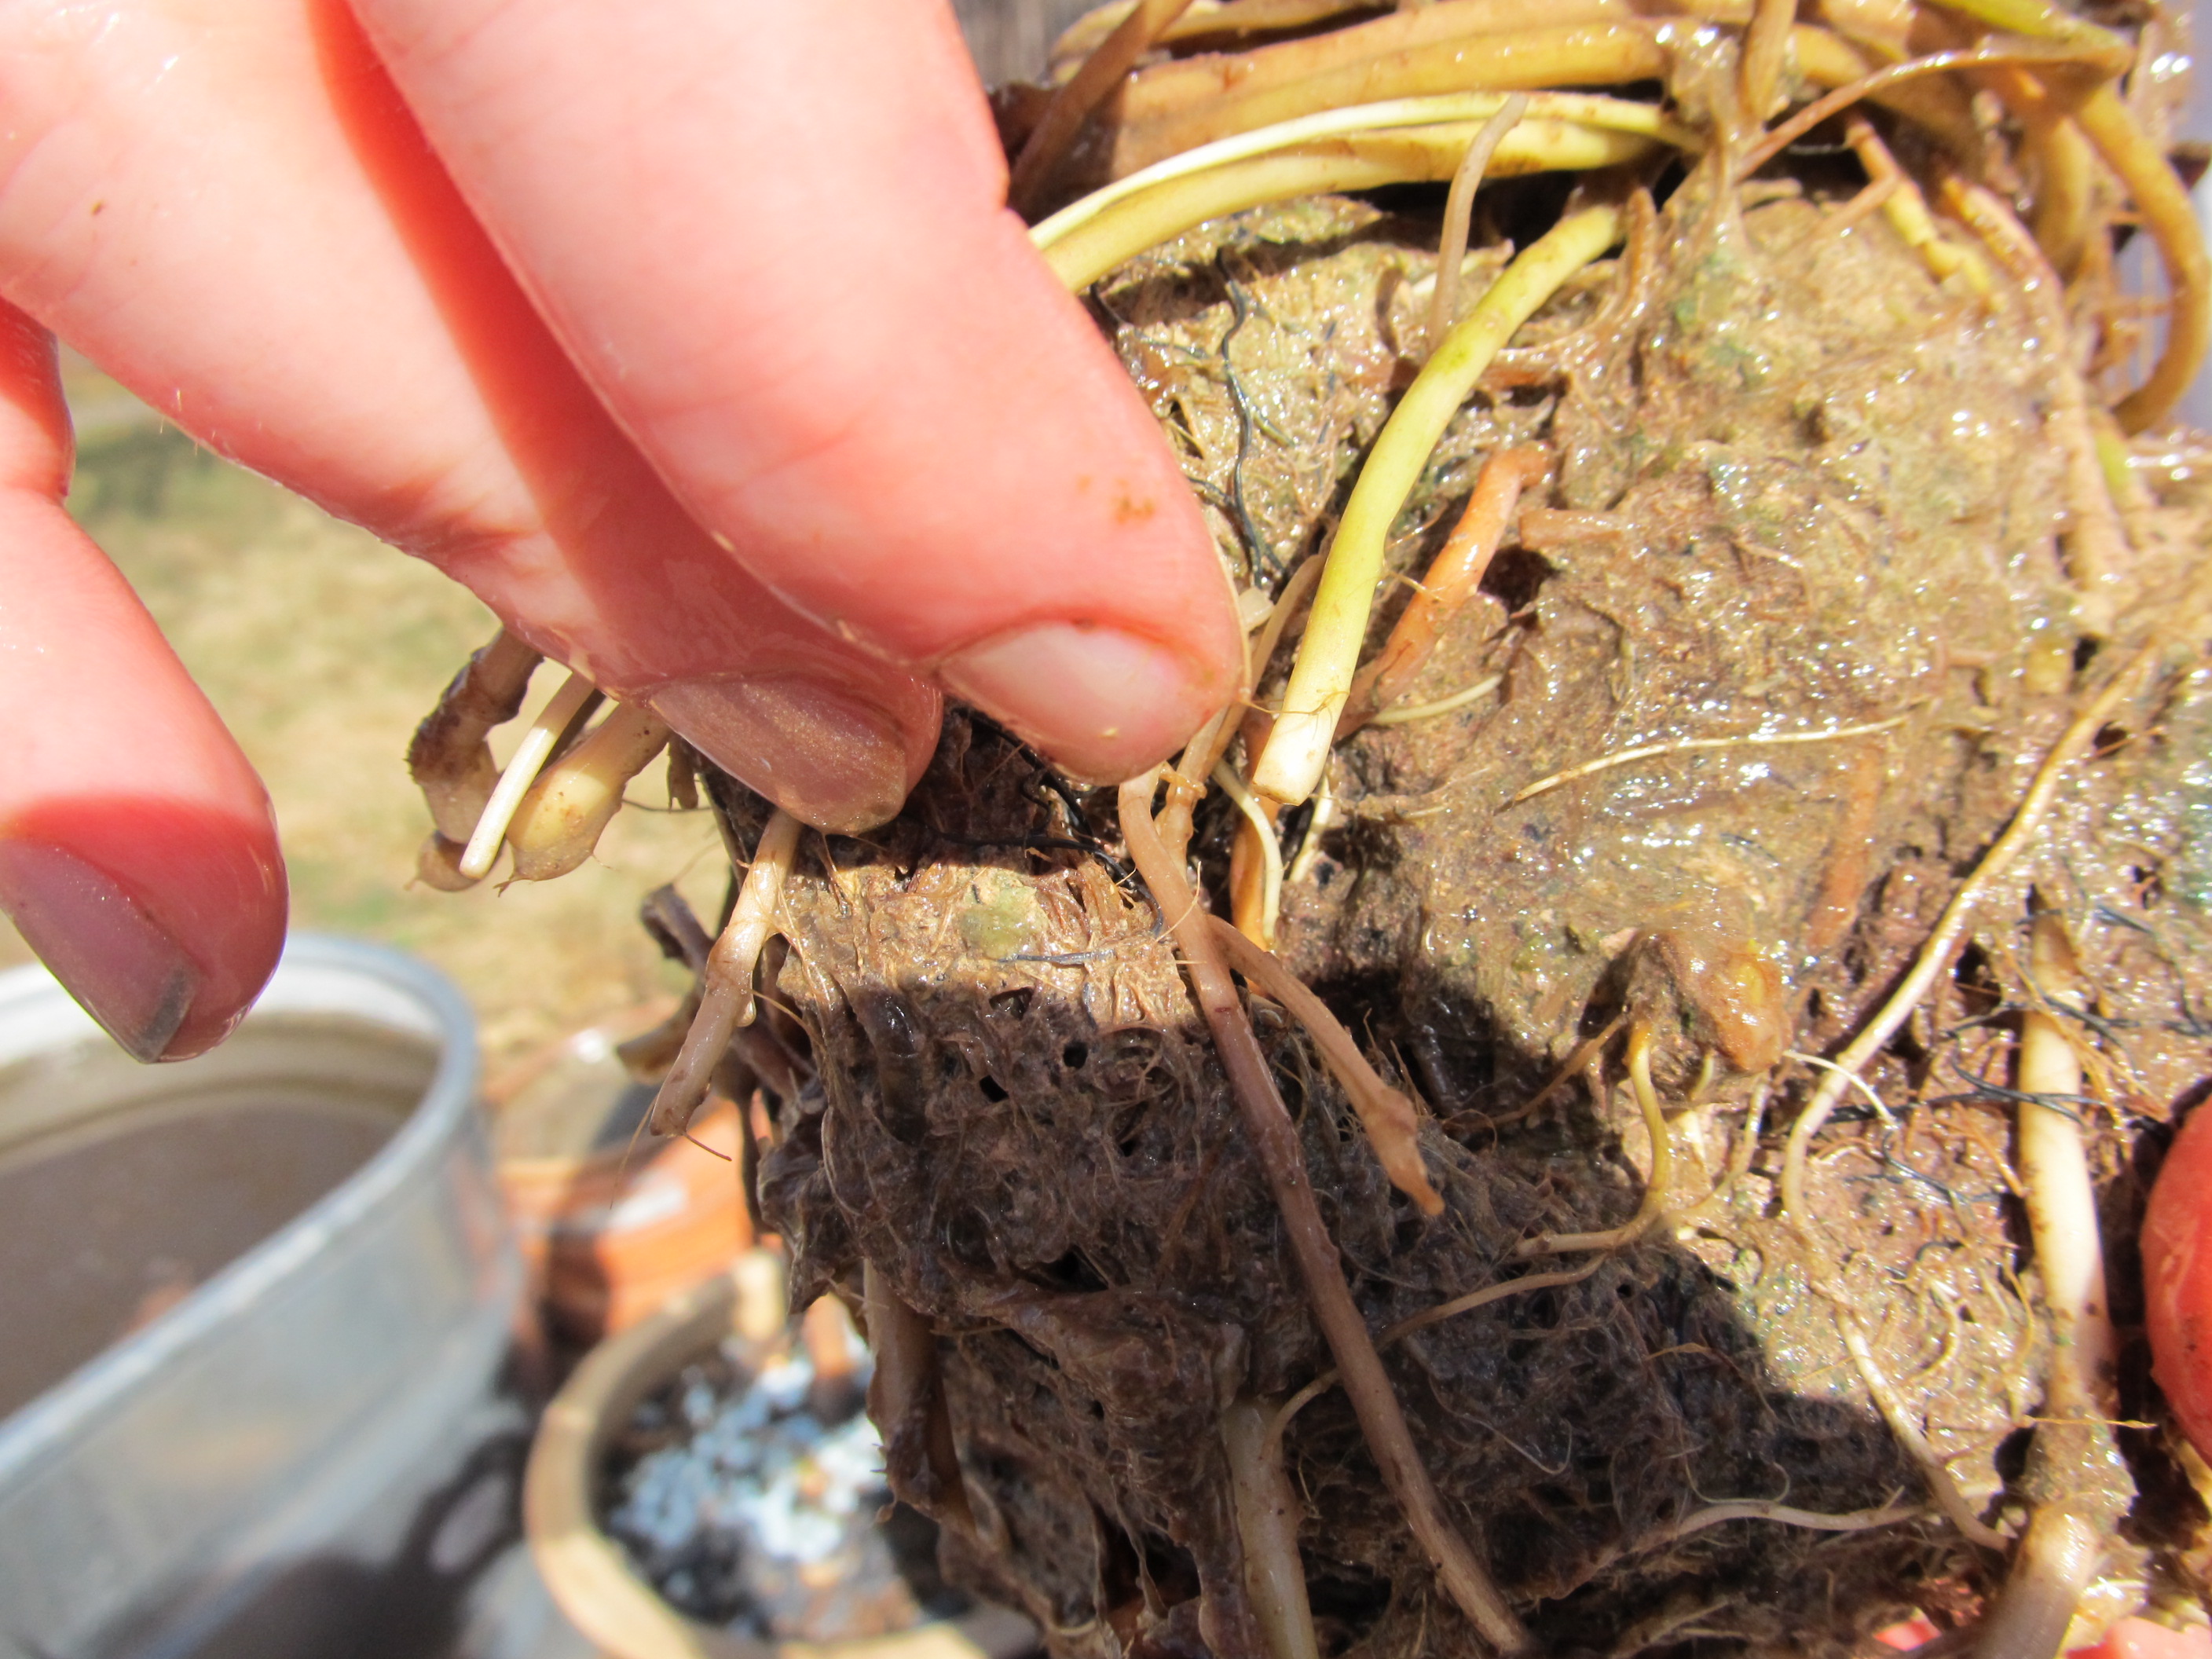
Now, I planted a garden bed last year, in full sun, no shelter from big trees, of mostly native and dry-land plants. How did these baby plants do? They look fine. I can’t tell they were in a storm at all, other than the fact that there are some shredded leaves that were blown onto them. These native plains plants have evolved to get hailed on periodically, go without rain, shrug it off and grow anyway.
I got my collection from the Garden in a Box program from the city- sometimes you can get rebates. The garden was designed by Lauren Springer, and cost less than what I would have paid at a nursery. The water department wants people to plant them to minimize the amount of turf that people feel obliged to water. The side benefit is that they are resilient to other weather events, too.

IMG_0686
We happen to live in a hail zone, with frequent thunderstorms, and infrequent (fingers crossed) tornadoes. Maybe your extreme weather events include blizzards, or floods, deep freezes, droughts (I’m looking at you, most of American Southwest). Why not plant things that thrive in the weather that you have? Plant things that have evolved, or have been bred, in a climate like yours, that don’t take additional irrigation once they have been established. For my homies along the Front Range, Lauren Springer has books ( go to the library, I don’t make any money off this, not that you shouldn’t buy the book, but libraries are good, too) or David Salman runs a Santa Fe nursery called High Country Gardens. His catalog is an education in itself. Bounce back after sever weather. Resilience. You can Grow that.

On the 4th of the month, C.L. Fornari challenges garden bloggers to share encouraging words about what is growable. Search for other You Can Grow That posts!

Advertisement

Water Garden- you can grow that!


My happy place.

My happy place.

Pretty much every morning, I go out to my patio, set my coffee on the table, put my feet up on the big terra cotta pot, and watch the sky reflected on the surface of the pond.

To be clear, this is a horse tank, 100 gallons of galvanized metal with a lily plant and a few goldfish swimming around munching the mosquito larvae. There is no fountain, no water filter, no waterfall, just a flat surface.  If I had to move to a place with a smaller yard, a small pond would be the number one thing I would have- and I would keep it tall, above ground, rather than in the ground. Having it up high makes it easier to maintain, and the structure makes it feel like it takes up more space in the landscape.

This is the third iteration of a pond in our yard- I started with a 20 gallon tub, then sprang for a whiskey barrel, then a couple of years ago I picked up a 100 gallon trough at the farm supply store- I call it a hillbilly goldfish pond. The dull metal works with my aesthetic, if I wanted to be fancier, I would side it with stone, or cedar or something. Or maybe not, that seems like a lot of work.

The beauty of the larger pond is that it is less work than the smaller ones- the additional water acts as a buffer for temperature swings. You also don’t have as many issues with ammonia build up from fish waste.   I bought five very cheap goldfish at the beginning of the year, a couple of them died early on, and the others have gotten very good at hiding- I see the ripples of them moving around beneath the surface, but haven’t seen a tell tale orange fish in about a month. Will says he saw one being eaten by a preying mantis. I asked him why he didn’t film it, and he looked at me like I was crazy.  It is crazy to ask a kid to stop watching an insect eating a fish, run inside, find his camera, replace the batteries, then run back outside.  The circle of life.

About once a week, I use a bucket to scoop out some water and dump it onto the patio pots- they appreciate the “nutrient rich” water- it winds up being a very dilute fertilizer. Then I turn on the hose and top up the tank. The water lily, water hyacinths and other plants use up other nutrients- the more surface of the water is covered with plants, the less algae growth there is.

Anyway, I cannot recommend more highly the idea of getting a big tank of some sort, putting in water, and a couple of cheap feeder goldfish. Add a plant or two, and place a cinder block so the fish have somewhere to hide, then make a cup of coffee. It is so worthwhile to have a water garden. And you can grow that.

Water Lily Transplant Team


At the pizza place last night, I told my kids I was planning on taking the water lily out of the pond to repot, and asked if they would help. They did not respond enthusiastically.
I clarified by saying I wanted to blog about it, so I would need photos.  I won’t say they were eager…the only eagerness came from each not wanting the other to get to use the camera. Oh well, I’ll take any assistance I can get.
To prep, I checked my pond reference book “The Pond Doctor” which has enough illustrations to be useful, but not so many that it counts as a coffee table book. The directions for repotting recommend lining a basket with burlap, then adding clay soil, then removing the lily from the pond, rinsing the old soil off, cutting off any dead material, and placing the rhizome at a 45 degree angle with the growing tip at the center, then covering with gravel, then placing it back in the pond in shallow water, until it starts growing. Whew. That seems doable.

The water on top is warmer than in the depths of the horse trough, but not by much right now. My “shallow water” zone is a couple of cinder blocks I placed at the south end of the trough, one vertical and the other horizontal. They make a stand for plants, and the holes create happy little hiding places for the fish.
Step 1 Basket: I got a basket at the dollar store. It cost a dollar… I ran into a preschool mommy- Someone I hadn’t talked to since we stood around waiting to pick up our kids, 5 years ago. We had a nice discussion about what size basket I should get for the water lily. Actually, we talked mostly about how big the kids were getting, and our conclusion about the water lily was that I might as well get 2 sizes of basket, since they were only a dollar.

Step 2 Burlap: I bought a yard at the hobby store, which is conveniently in the same mini mall as the dollar store. I cut it in half and crisscrossed it in the basket.

We used the bigger basket- the recently fished out lily is in the smaller one.

We used the bigger basket- the recently fished out lily is in the smaller one.

Step 3 Clay soil:   easy to find, in theory, since my yard is nothing but clay. I found an inconspicuous spot to dig a bucket full.

Step 4 Remove lily: When I fished the lily out of the pond, I was surprised at the size. I bought it two years ago in a mesh bag the size you might buy garlic in. There wasn’t any soil in the bag originally, I don’t think, just some gravel to make it sink, which made

Step 5 Rinse soil off rhizome  very easy. I cut away most of the mesh, and

Step 6 Trim: I cut away the mucky stems and leaves from last summer.  Kate was appalled by the smell. She is the one who won the “I get to take pictures” argument.  Honestly, it wasn’t that bad- if pond smell is the only thing keeping you from repotting a water plant, get over it.

Extreme close-up of fresh growth.

Extreme close-up of fresh growth.

Step 7 45 degree angle:  I nestled the rhizome into the soil at an angle, leaving the growing tip out of the soil in the center of the basket.Then I wrapped the lose ends of the burlap up around the soil on top.

Step 8 Gravel: I know I have a bucket of gravel around somewhere- I am sure it will turn up in the spring cleanup. When I find it, I will put some scoops of it on top of the burlap, to keep the soil from making the water cloudy.   That’s a little joke- the water is pretty cloudy on its own right now.

Next fall, I'm going to put some kind of a screen on top so we don't get a tree's worth of leaves in the pond. It's pretty darn gross.

Next fall, I’m going to put some kind of a screen on top so we don’t get a tree’s worth of leaves in the pond. It’s pretty darn gross.

Step 9 Shallow water: I placed the basket on one of the cinder blocks very gently. Some bubbles came up from the burlap, but fortunately the soil was pretty moist already. If it had been dry, I would have had to hold the bundle down until the air bubbles had all come up out of the soil, and it was fully moistened.

Step 10 Scrub arms: Okay, Kate, you’re right, it is pretty stinky, and my right arm, which is the one that went into the water to get the plant, is pretty gross smelling.

Self watering pot- a goldfish story.


Frozen Hillbilly Goldfish Pond.

Frozen Hillbilly Goldfish Pond.

I pinned something on Pinterest that was repinned more times than anything else I have put up. Then, my brother found it somewhere and sent it to me, as well.  It is a tutorial for a mini pond in a pot, with divisions for a wetland area with more soil and cattails, and a pond area, with a water lily. It is honestly adorable.

I have worked my way up in mini-ponds- from a 10 gallon tub, to a 20 gallon half barrel, to my current one, a 100 gallon horse trough, aka the Hillbilly Goldfish Pond. I have learned that the more water, the better the pond works. The fish like it better, (although there is some…attrition). The plants like it better. This experience tells me that the little patio pond depicted probably wouldn’t work, but it is adorable. People like adorable.
It makes me think, though, about adding more “wetland” area to my pond. And with that, it makes me wonder about combining the idea of a self watering pot and my pond. A self watering pot is a porous pot  with a reservoir underneath that holds a constant source of water. Roots are always able to access the water they need, so they tend to grow better than they would in regular containers. Earthbox is one brand. They seem expensive and  ugly. (that’s one way you can tell I don’t make money from these links.   If they were affiliate links, I would say, “kind of expensive, and kind of ugly.”)

In a six foot long pond, what about putting in some cinderblocks, and some pots that would keep the roots wet, but the tops dry, so the plants don’t rot? Or islands, out of floating styrofoam, for lettuce and spinach? Or grow bags with squash, and the vines could drape over the sides of the trough? I would still want enough open space for fish, and I wonder if the goldfish would wind up eating the roots?
That’s what’s great about winter- I can imagine these ideas all day and night, waiting for the pond to thaw.