A phone conversation with my mom, while I am on a walk in the park.
Mom: You’ve been writing these mysteries, do you ever write anything in your old blog?
Me: Well, no, not really. I can check it every once in a while to see what the popular posts are. People still find it when they’re looking for things. Like my vanilla orchid.
Mom: your what?
Me: my vanilla orchid.
Mom: what kind of orchid?
Me: (yelling over traffic noise and to overcome my mom’s difficulty hearing) IT’S VANILLA, LIKE YOU PUT IN CAKES OR ICE CREAM.
A woman walking her dog shortens up the leash and looks at me like I’m crazy.
Mom: oh, you know when your sister went to Mexico last spring, she got me big bottle of vanilla.
Me: Yeah, I’ve seen that in the cabinet.
Apparently, I am one of the few places on the internet where you can get information about growing vanilla orchids over time. I have a tutorial, from when I first bought the plant. I have updates here, and here from when it survived the winter.
I think there are articles around the internet where someone bought the plant, or suggests that it can be grown, but somehow, because 12 years ago (wait, what? That was so long ago!) I bought a vanilla vine, and I haven’t yet killed it, my little blog posts are high on the search results. Here’s one more post, wondering about when I’ll get homegrown vanilla.
So here is one more update.
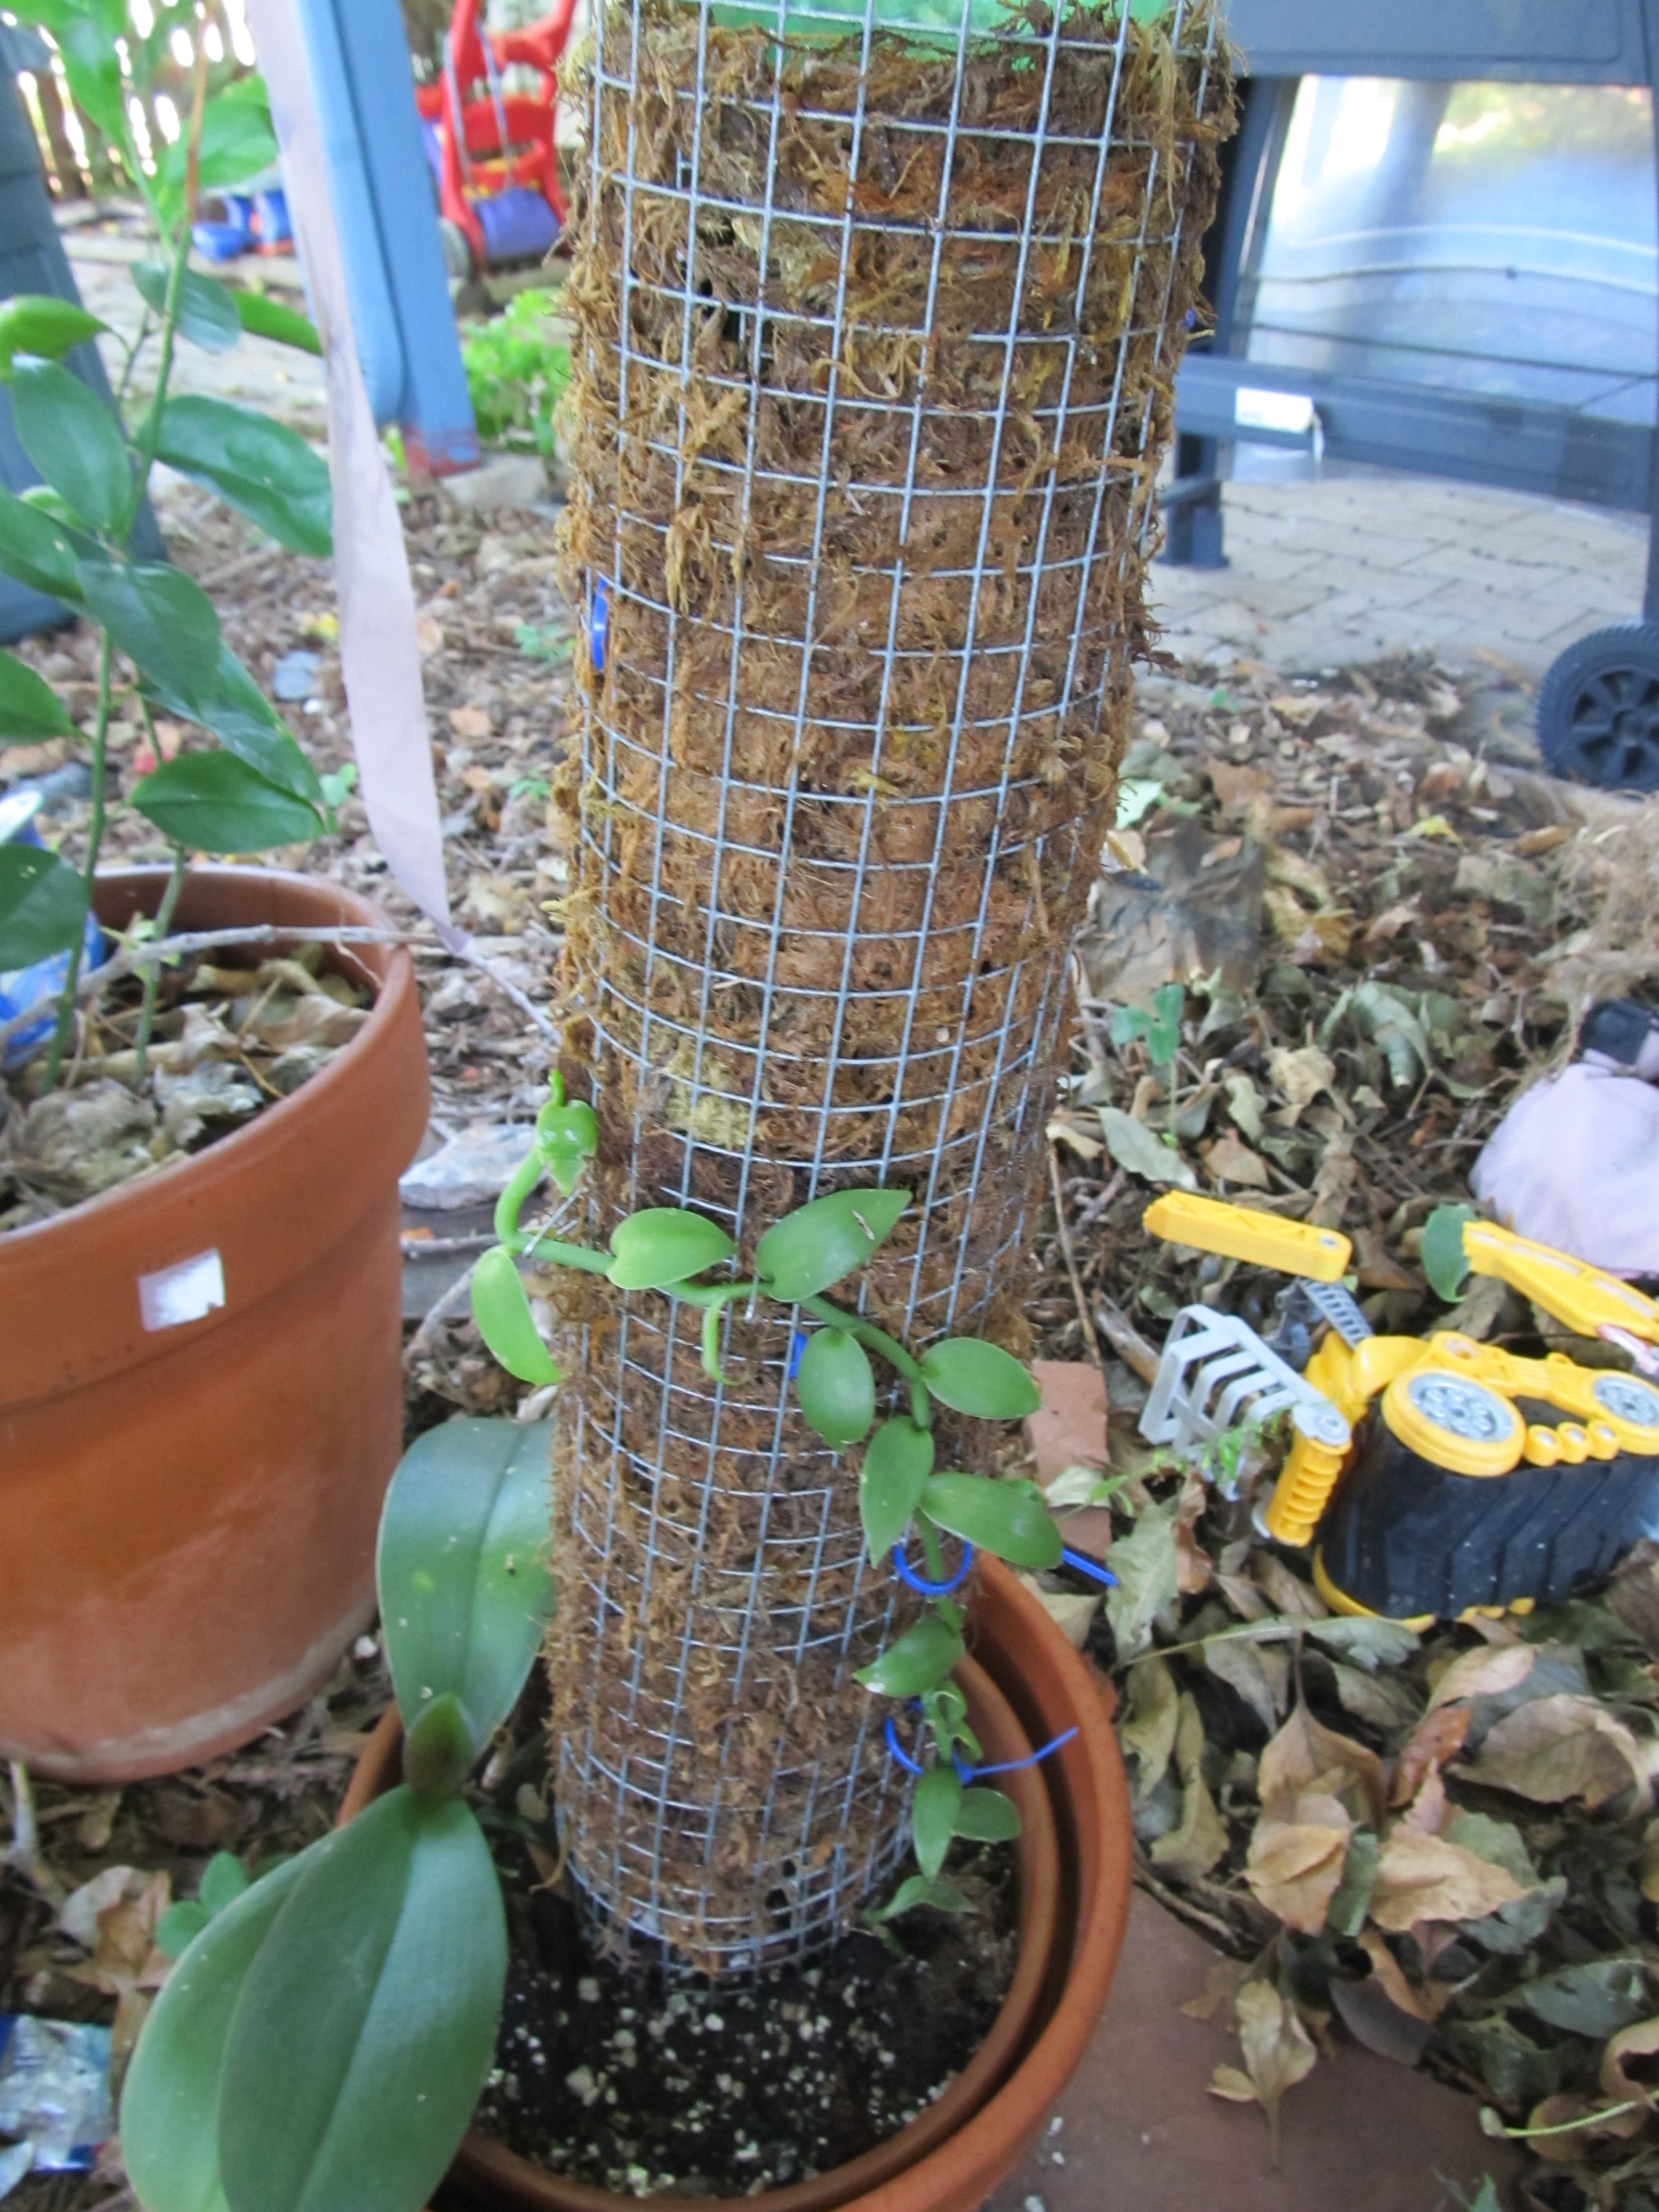
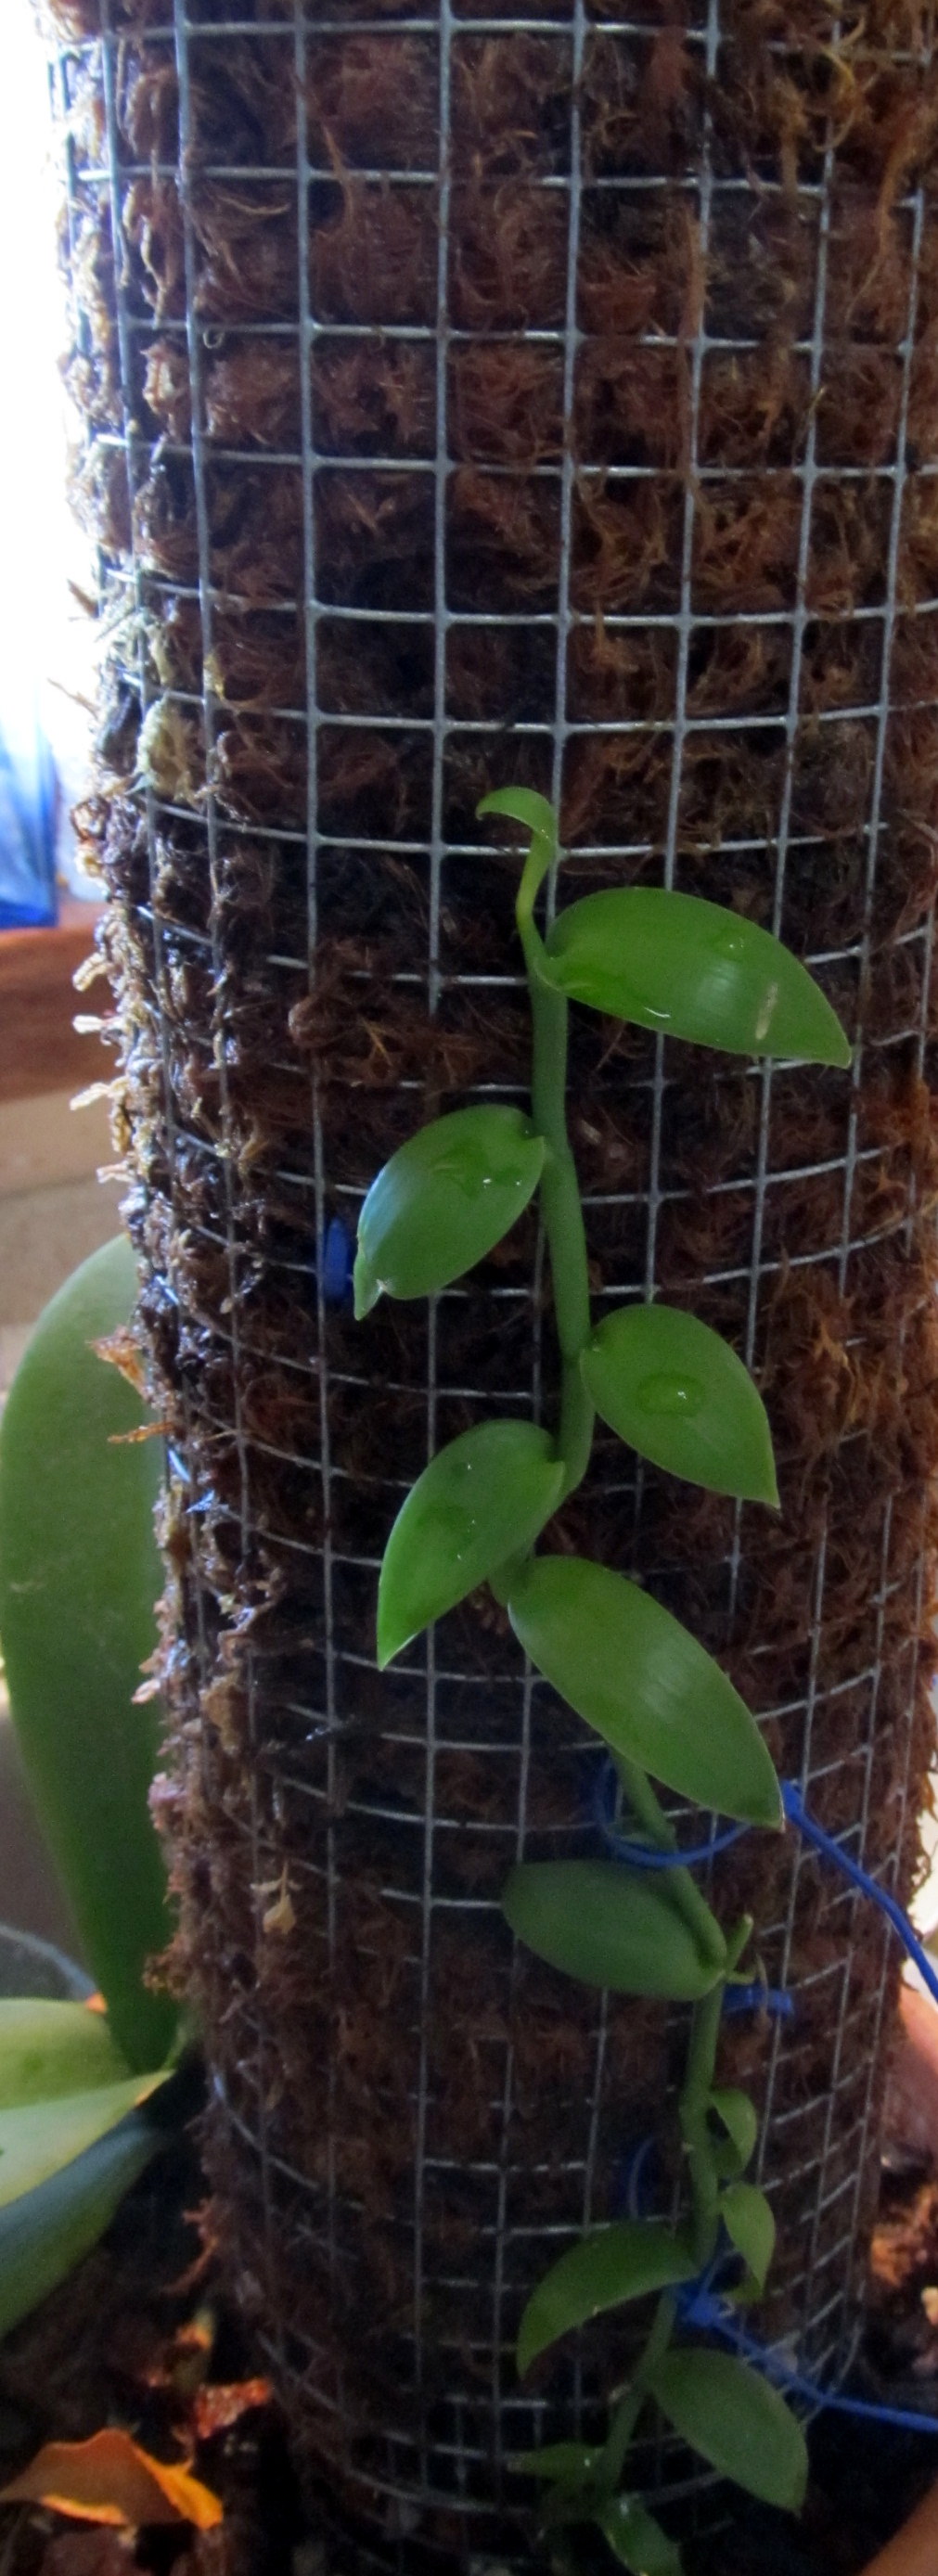
I originally assumed the plant needed lots of humidity, more than it would naturally get in semi-arid Northern Colorado. I built a trellis with wire mesh in a pot with soil. It was ugly. And unnecessary. Vanilla has aerial roots, but doesn’t seem to need that much moisture in the air. I was worried that the root system that was in the soil of that big pot was going to rot from too much moisture, and when I put the pot outside for the summer, it would get blown over. It was just top heavy.
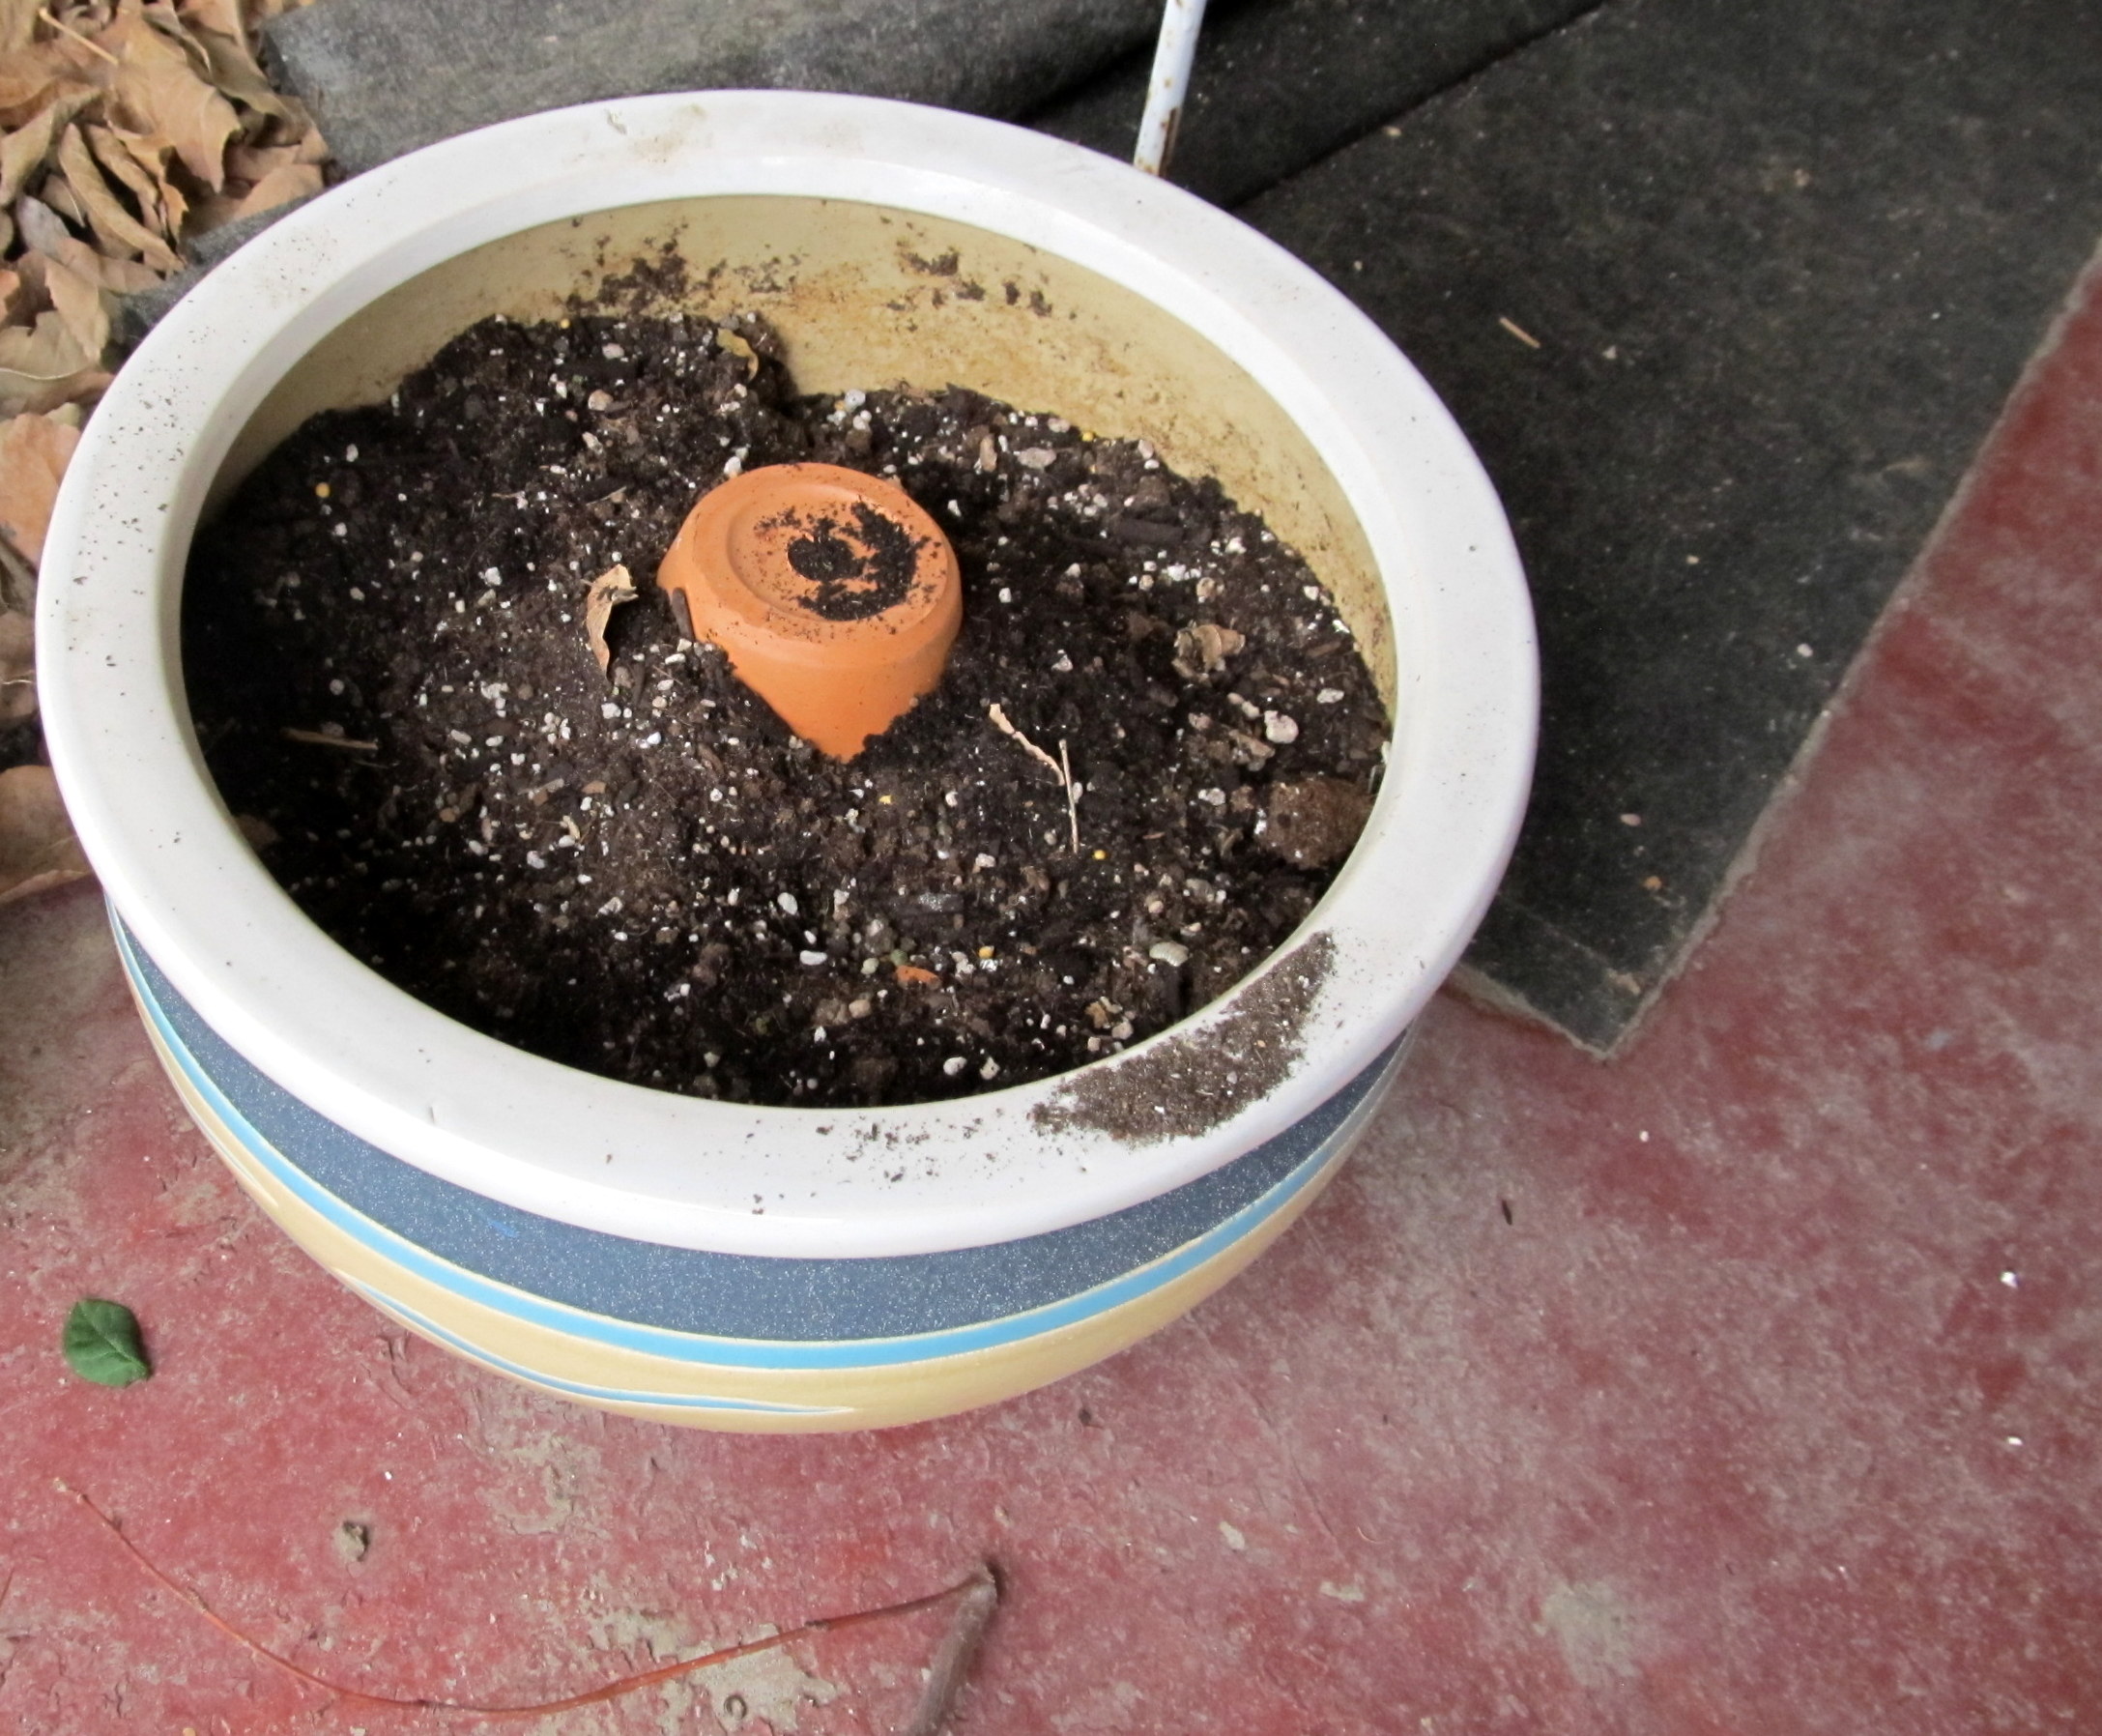
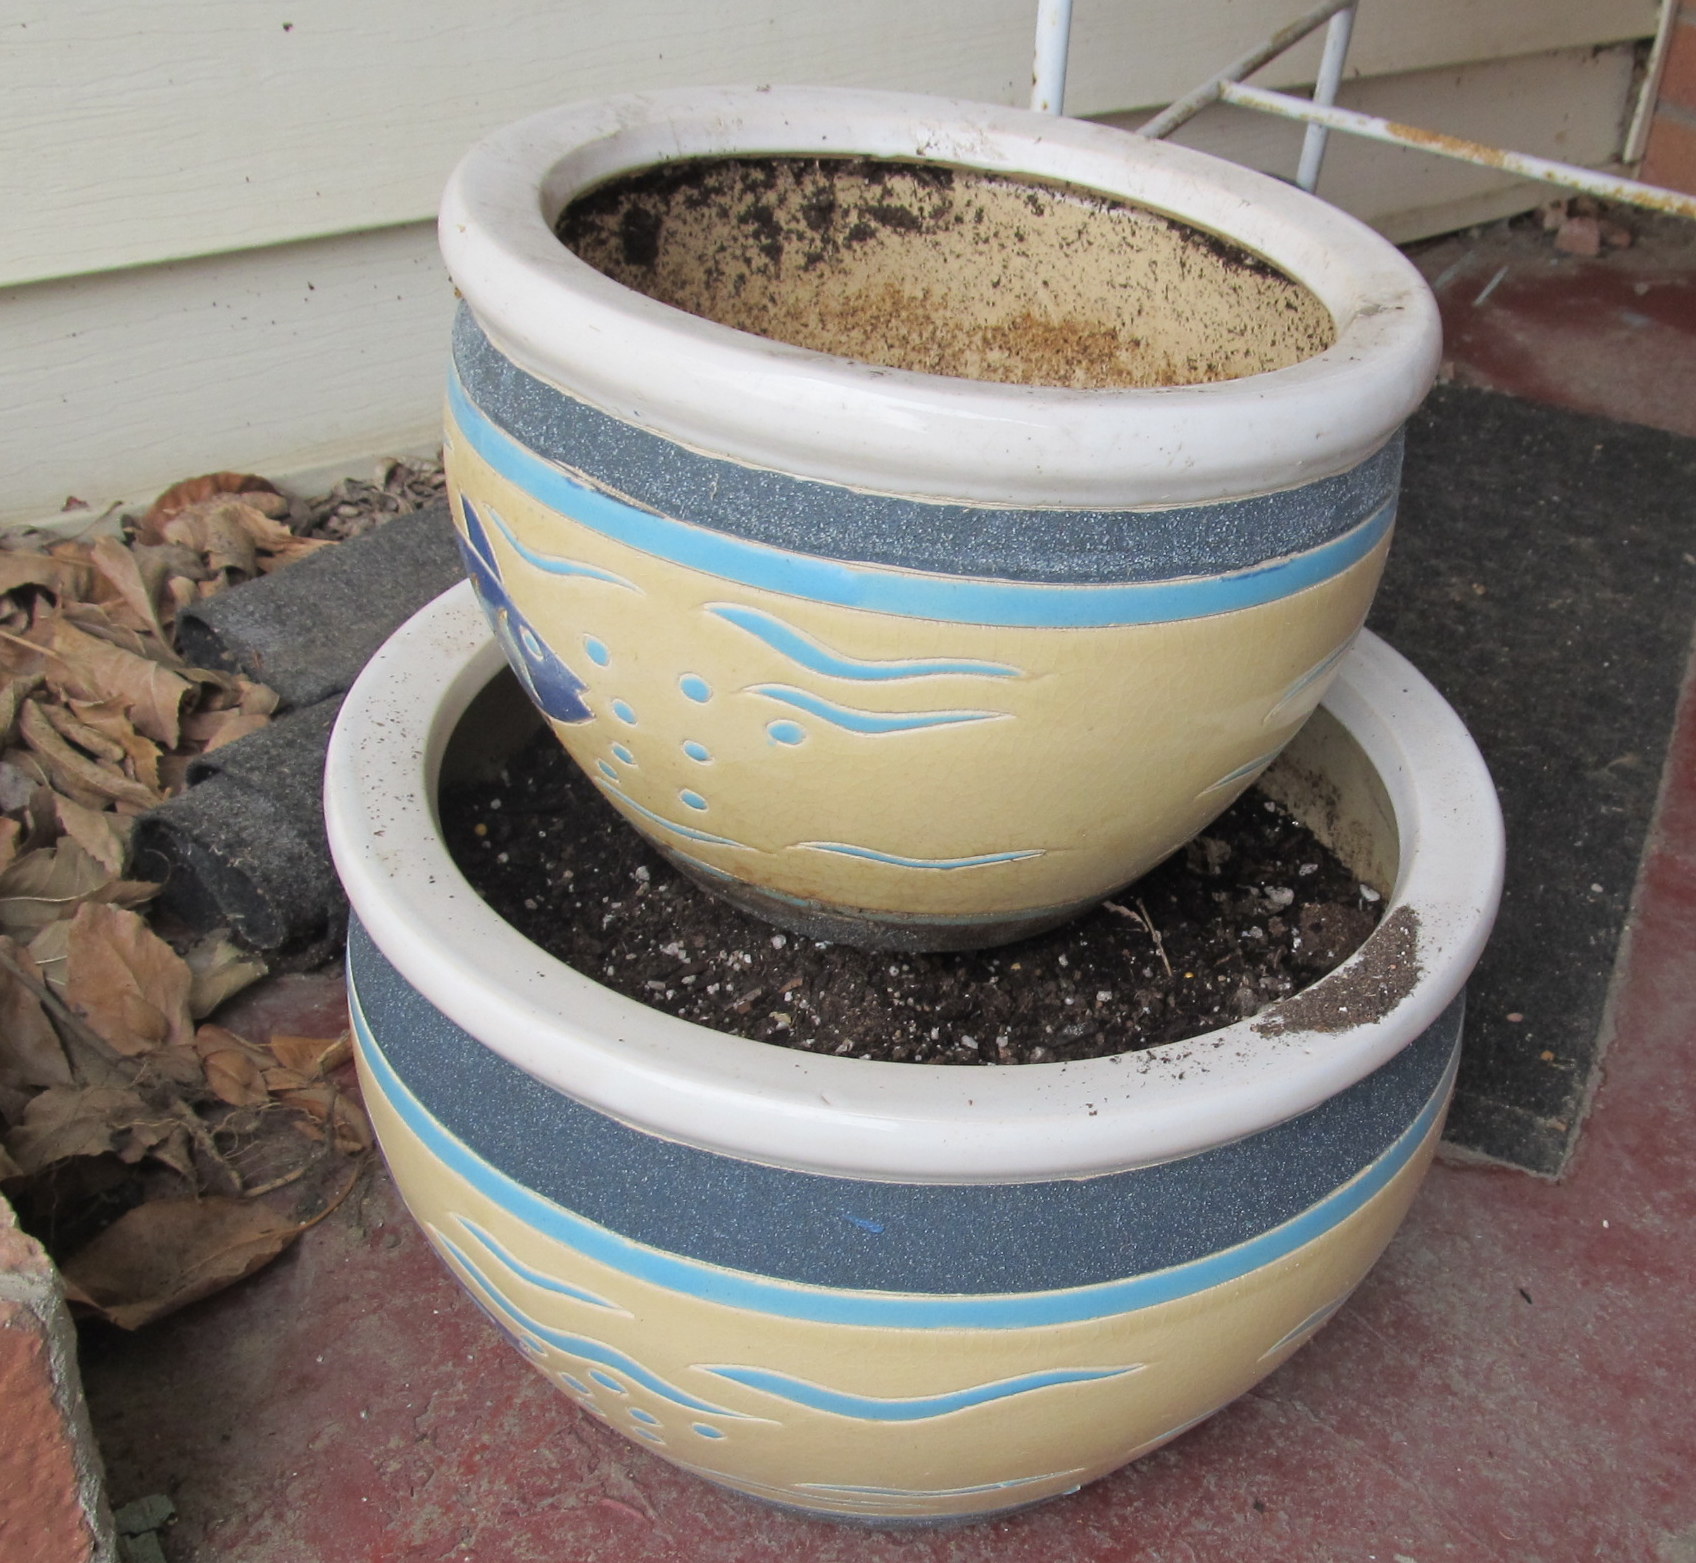
So, I switched it out into a pot with a built-in saucer. I cut a branch that had fallen from our ash tree and wedged it into the pot with some scrap wood, then covered it with sphagnum moss. I gently unwound the vine from the wire trellis and put the root system into a gap between the wood pieces in the new pot.
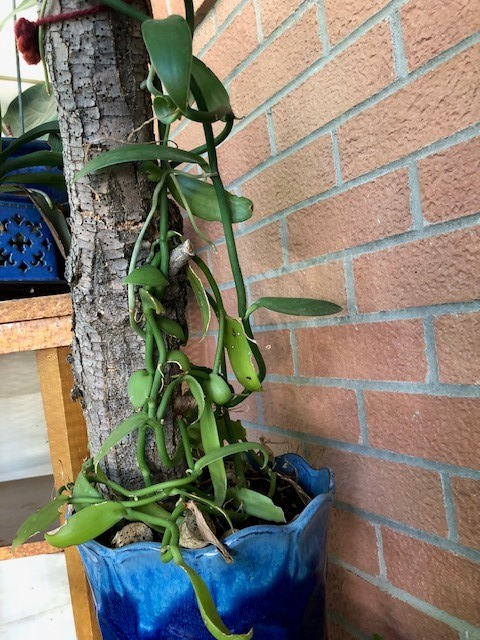
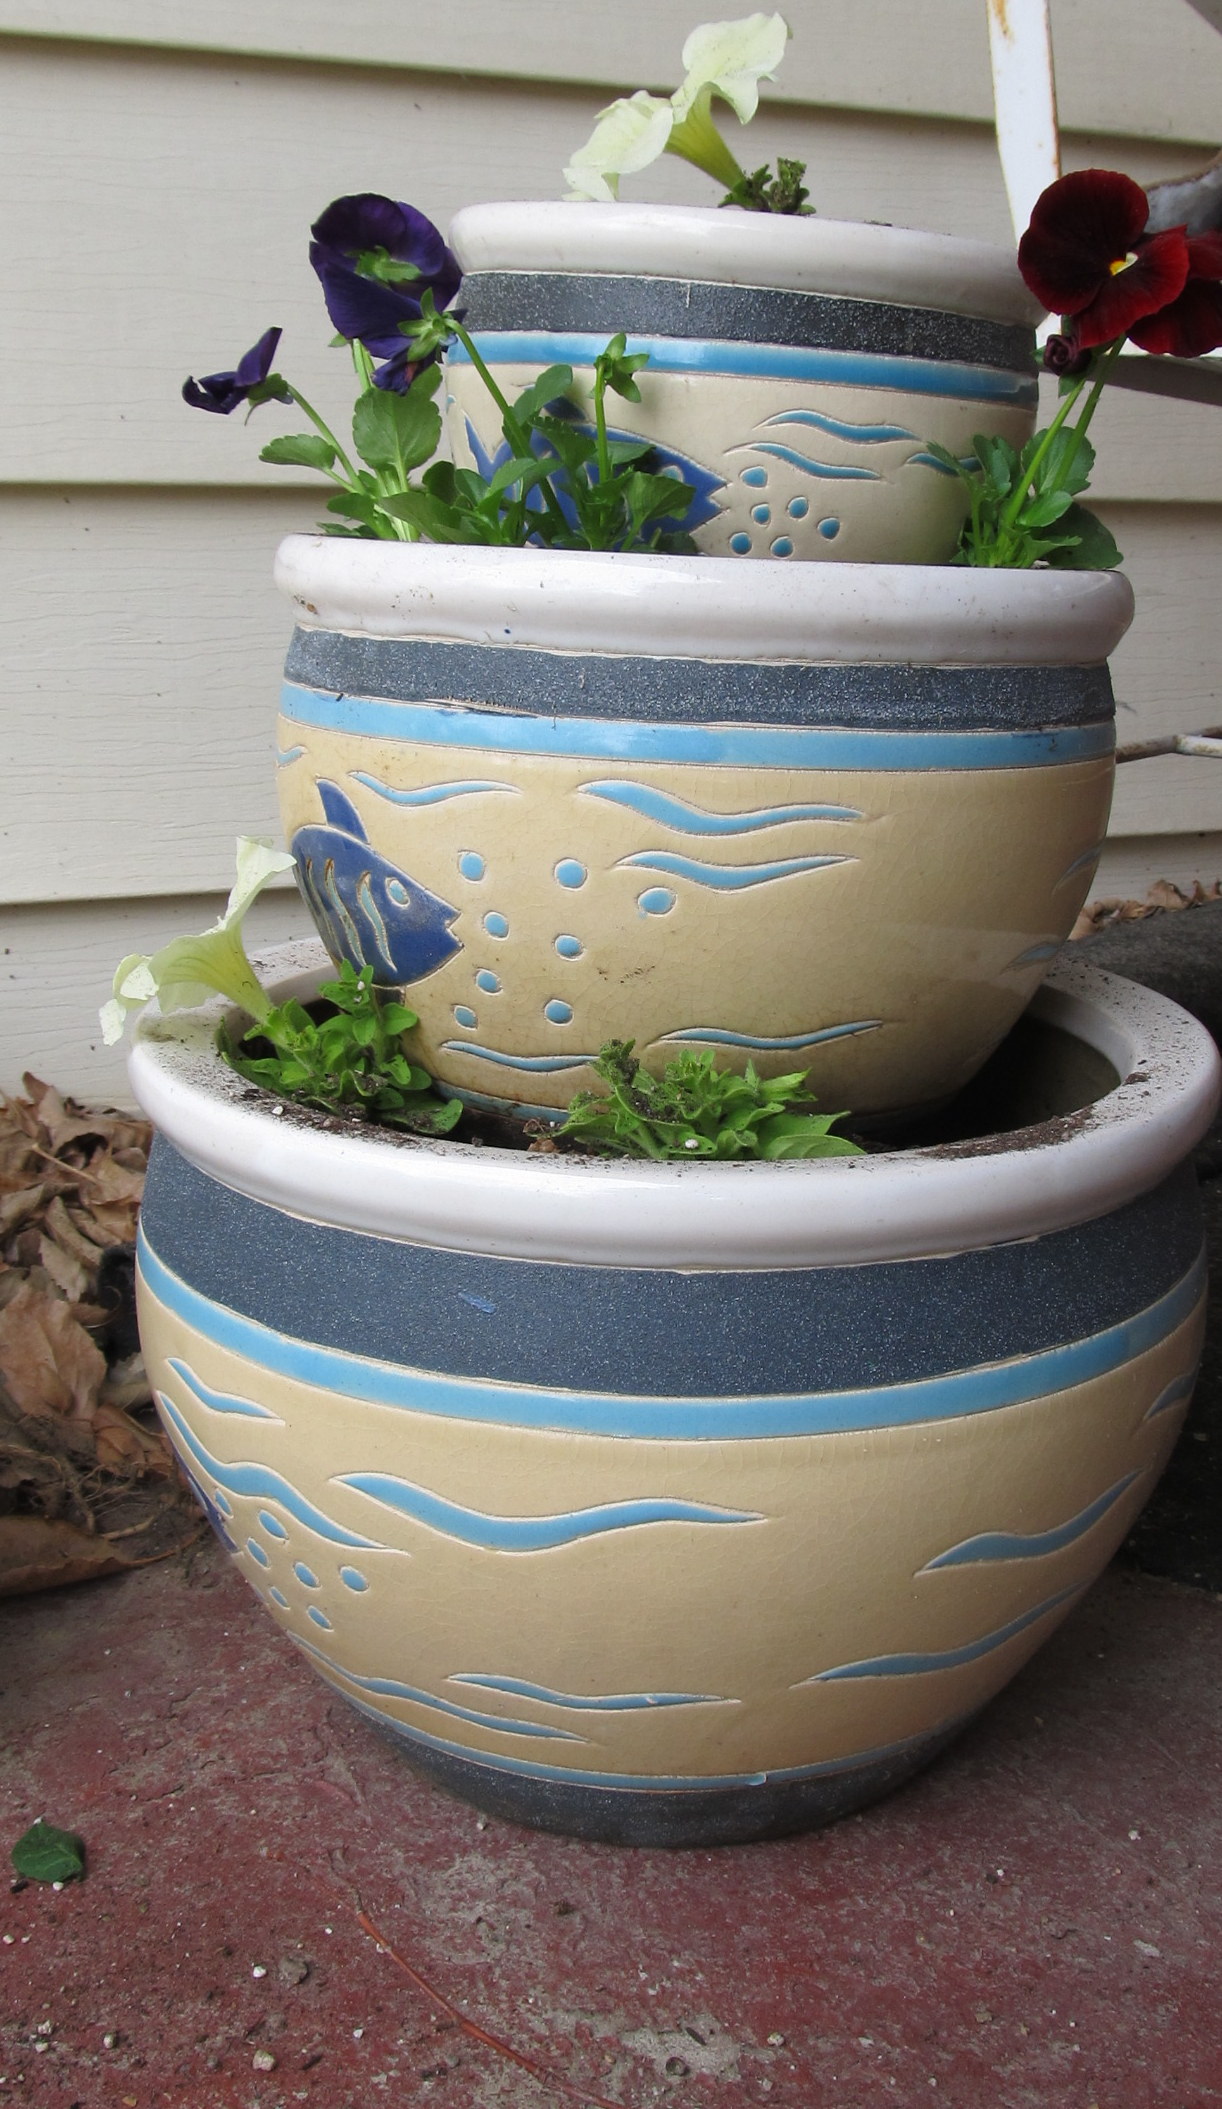
It grows beautifully. The plant spends the summers outside, and the aerial roots can grab onto the bark of the branch. To water it, I dip a pitcher into my fishpond and pour it over the top, letting it splash onto the branch and leaves and drip into the pot. The weak fertilization from the fish water seems to make it happy. But who can tell? I mean, it hasn’t died yet. It lives on the front porch, where it gets early morning light, but is sheltered from bright sun and heavy rain. Unless the rain is going sideways, which has happened a couple of times this summer.
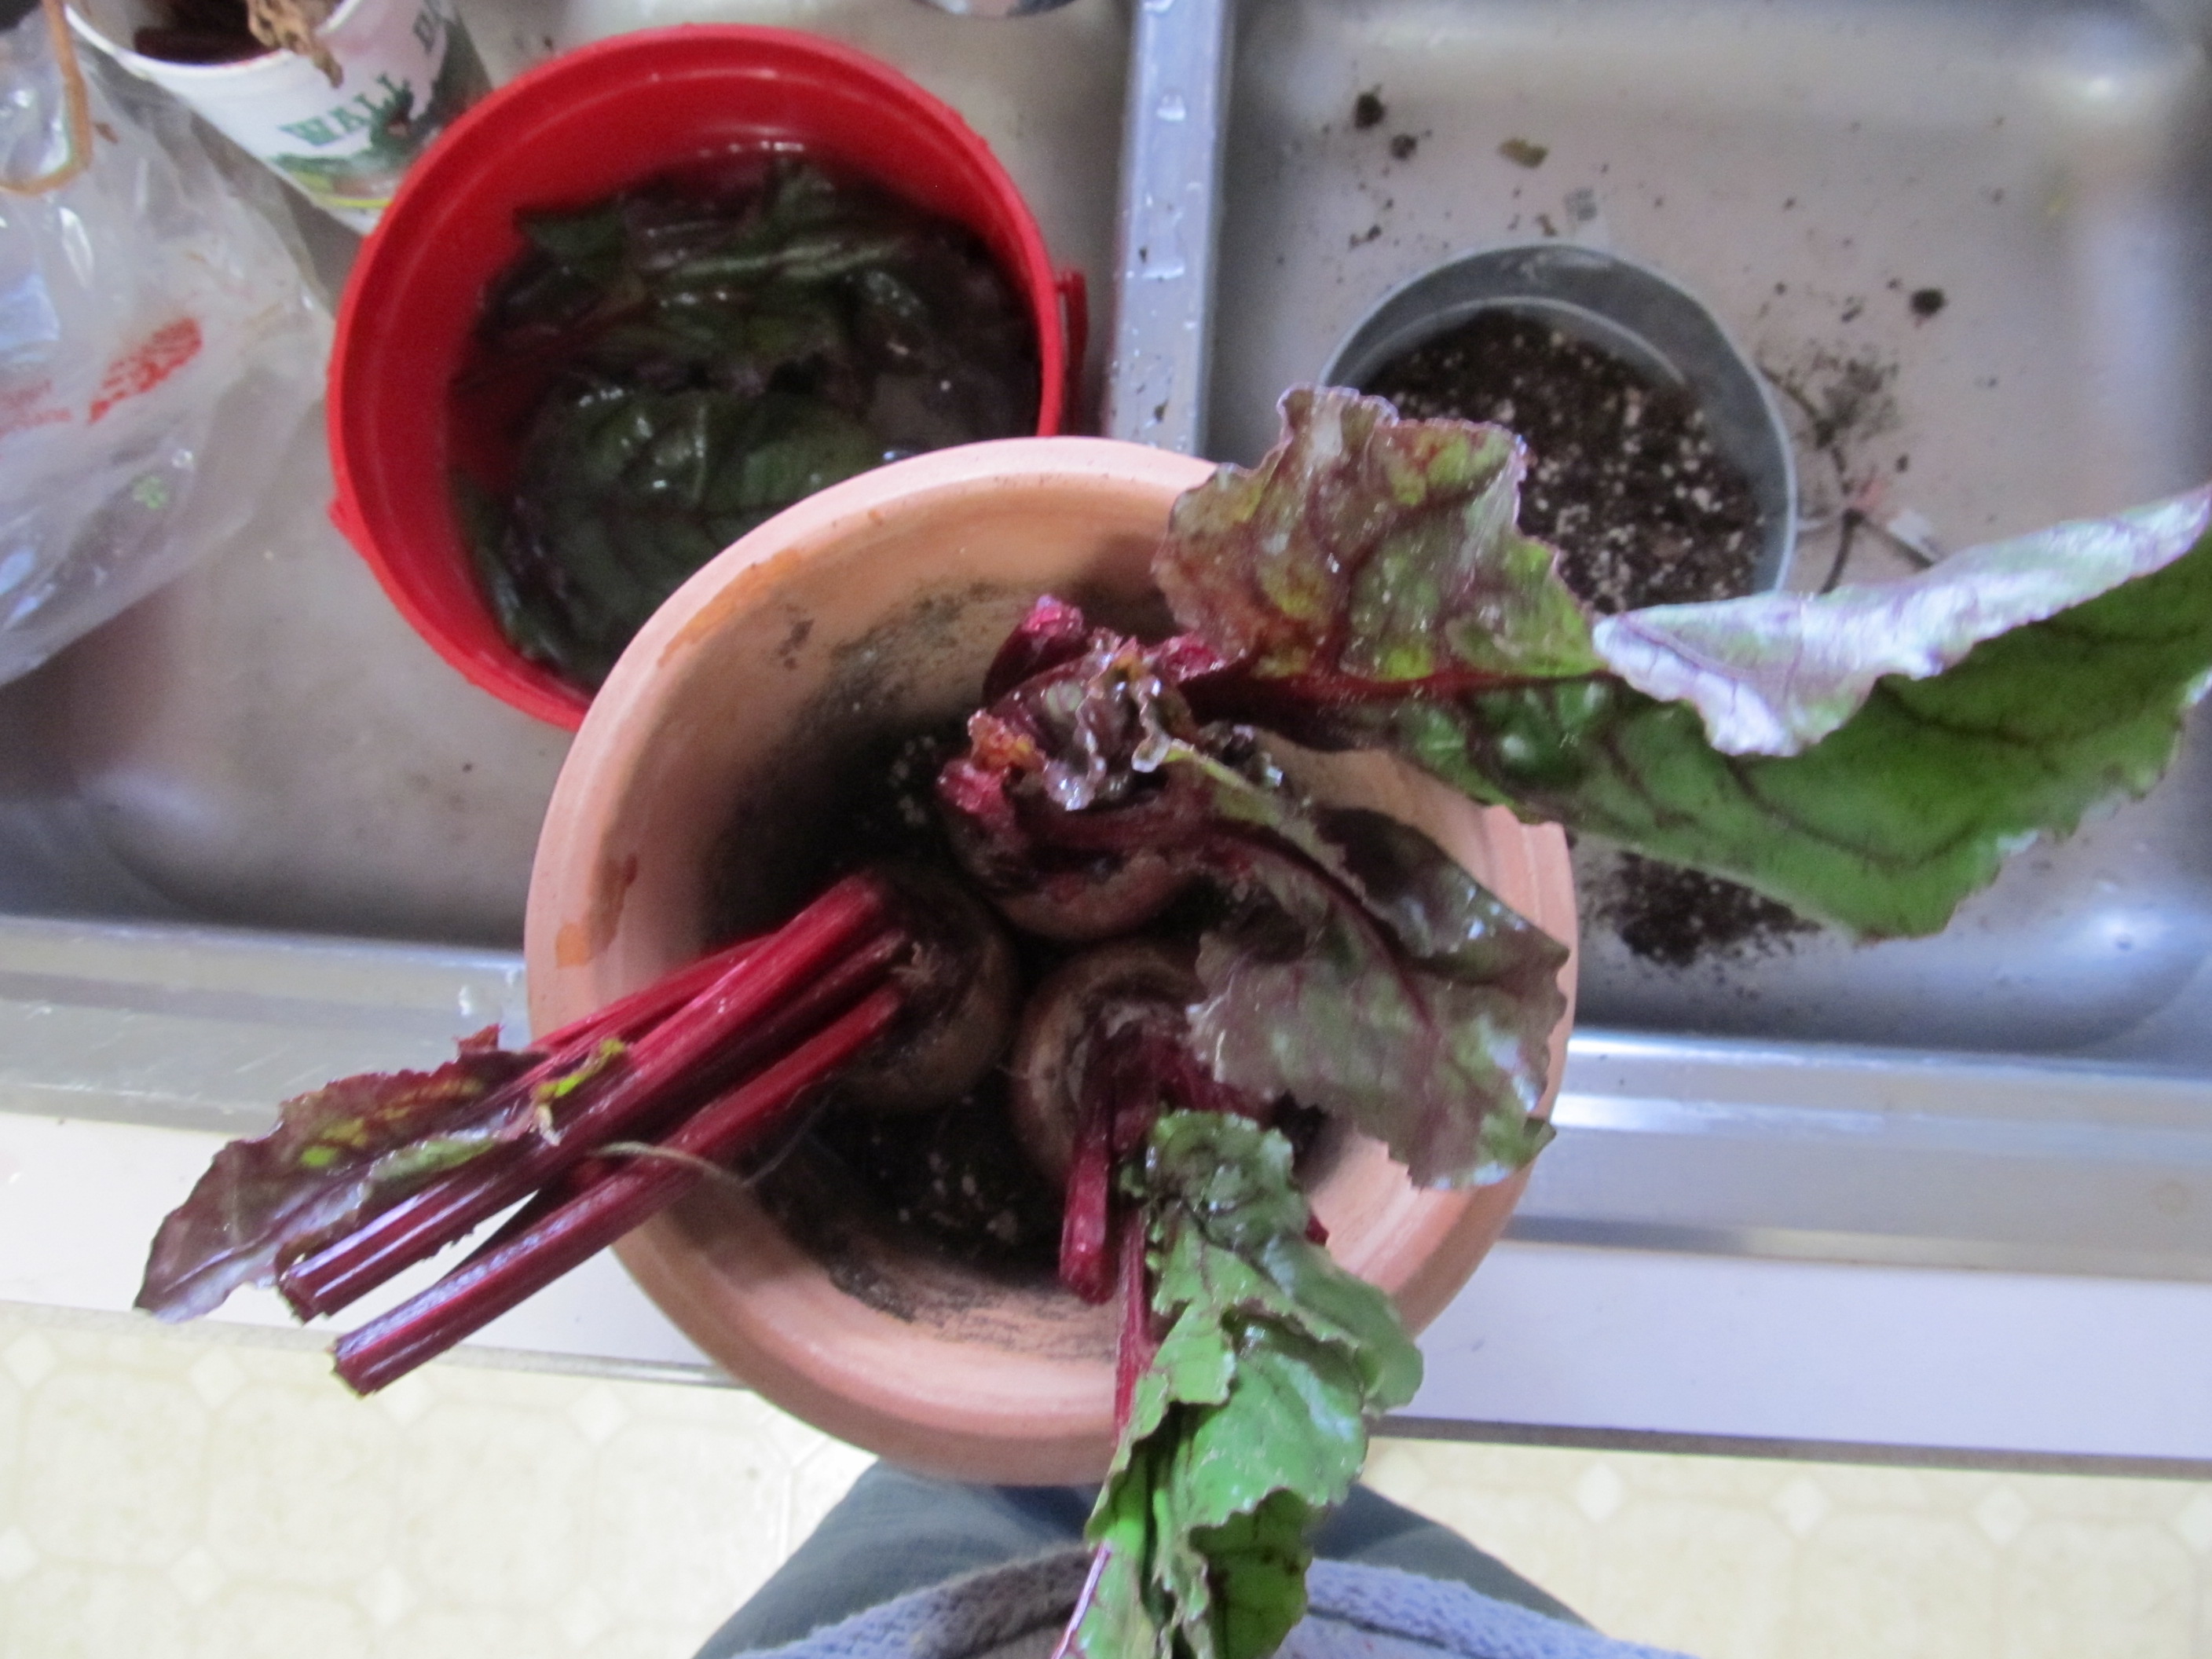
In the winter, it lives in front of a west facing window, and I move it to the kitchen sink to spray with water every couple of weeks. If the pond isn’t frozen, I’ll pull a pitcher to water with. I’m honestly not sure if the fish water makes that much difference- the chlorine is evaporated out, there’s a bit of algae and fish waste. Does it make such a difference that you should go out and get a fish pond? Maybe.

Anyway, 12 years later, my vanilla hasn’t flowered yet. I have read that in a greenhouse, vanilla plants will flower when the vine is 20 feet long. My branch is about 18 inches tall, and when the vine goes over the top, I gently bend it and wrap it around again. I’m sure it’s not 20 feet long yet. Will it take another 12 years to get there?
When it blooms, I will do a little dance, and hand pollinate it, and be very surprised if a vanilla bean forms. I’ll also update this blog, assuming society hasn’t collapsed completely. And, if the plant dies, I’ll hold a little funeral and update the blog as well. Again, assuming the collapse of society isn’t complete by then.
Do I regret having to buy my vanilla extract at the store like a plebe? Nah. Did I think this would be a years-long process when I first started? Also, nah. It’s a cool plant, and I have lots of other cool plants, too.

The mystery books my mom mentioned in the phone call are paranormal cozies, under the name Ess Harelson. The first book in the series is Summer Breakdown, available on Amazon. Here’s the website for joining my reader group, if you are interested in getting a free sample of a mystery with my sleuth, Siobhan O’Hurlihy.